Art Projects Grades 2 and 3, Art Projects Grades 4 and 5, Middle School Art

Big Cats in the Jungle

Students got a lesson about big cats, some of its distinctive characteristics and fun facts. Then they choose one to sketch (lion, cheetah, puma, panther, tiger, lynx) and I directed the sketch to grade 3 students. Older classes can make their own sketches using real pictures.  Using visual finders (lesson here) gives unique results.

Once they were happy with their sketches, they outlined using a black crayon (stripes, rosettes, spots and eyes were outlined and colored with the crayon too). They then proceeded to watercolor.  Once the paint was dry, they cut out some leafs (flowers and even fruit) to add to the paintings, and finally they added shades and detail using oil pastels to  enhance both their animals and the leafs. Emphasize the use of lighter and darker colors for this.  We used dark brown and black where we needed some shading, and white and light yellow where we wanted to add light.

While working on this lesson, we talked lots about the needs of wild cats, their habitat and endangered animals, we talked about what we can do to keep them safe or contribute somehow to their well being.  Using less plastics, not wasting food and planting more trees were common comments between grade 3 students. 

20200826_093658

Art Projects Grades 2 and 3, Art Projects Grades 4 and 5

Mosaic Masks

This was part of our Ancient Civilizations unit, we talked about the Aztecs, and after learning some interesting facts, students used a stencil to trace the outline of a mask (made with cardboard) They then added eyes, nose and a mouth, making sure the details were big and simple enough, as cutting shapes around can be challenging for younger students, add more challenges and a more sophisticated design for older students.

I demonstrated how to use a pencil to mark where to cut the paper when we need to “fit inside” a space. Such as around the eyes.  Just place the paper on top and trace around with a pencil, then cut. You can see the pencil mark left behind around the right eye of the pictured mask, telling me this girl was actually listening to me! Once they got the basics, we were ready to start and I handed cardboard paper in different colors cut out in long strips (omit this step for older students), as well as squares of white cardboard and asked them to design and cut out the facial features first, then work their way using only squares of colored paper to fill in the rest of the space.  They also outlined the mask using thinner lines (rectangles). I handed some sheets of gold shiny paper that they could use for whatever they decided and they got very excited about it, if you can find inexpensive shiny paper, it will make your students very interested on the project. Some used it to make earrings, crowns, and some used to outline their mask (as the case of this Grade 2 student).

This looks more simple than it really is, specially for younger students, it demands patience and focus.  Interestingly, this tells a lot of the mathematical skills each student has, and is a great practice for spacial thinking skills.

Enjoy!


20200421_122309

Art Projects Grades 4 and 5, Middle School Art

Sketching practice: Half wolf

This is a great sketching exercise that is ridiculously easy to put together, good to have for that emergency sub plans folder.  Works for students from Kindergarten all the way to Upper School, though I particularly enjoy doing this with students from Grade 4 to Grade 8.   You can hand rulers to align and measure up.  I simply find a picture of a gray wolf online and copy only half of it into word, then print out and copy.  Students have told me they feel very relaxed after doing this project, I myself find it draining, in a good way. It is interesting to experience in your own skin how much energy can be used when you focus on something. This activity demands a lot of attention to detail and enhances hand eye coordination.

20200507_131940

Art Projects Grades 4 and 5, Middle School Art

Still life sketch and watercolor

I really enjoy nature and inevitably that love of greenery is passed on to my students (I hope).

Still life sketch using plants found around is a great way for students to practice their observational skills and their sketching skills.

I always remind to them to spend more time looking at the plants than their own sketches. As simple as it sounds, it demands practice, as your brain usually overtakes and you end up sketching what you think you see, not what you really see.

Occasionally I ask students to start with a continuous contour sketch, and then proceed to sketch. This simple exercise (consisting of using ONE line to sketch the whole object you want to draw) is very good to train the eyes and to improve hand eye coordination.

I love bringing orchids to my class and asking students to sketch them. I also have quite some plants around and some times we do nature walks to find interesting still life object to sketch.  Once that is done you can color using ink and watercolor (permanent marker to outline, followed by watercolor painting) or only watercolors.  Colored pencils are another option, either to color the whole sketch or to add detail to watercolor paintings.

Enjoy!

This slideshow requires JavaScript.


Art Projects Grades 2 and 3, Art Projects Grades 4 and 5, Art Projects Prekinder and Kindergarten and Grade 1

Christmas Ornaments

This was a simple quick project that involved watercolor and oil pastels. We did wax resist to bring light to the ornaments.

We started by making 3 or 4 circles, adding a white curved line in a corner using a white oil pastel (remind students they wont see it until they water color on top). That mark will be the light reflection on the ornament.  Students can then watercolor the circles as they like. I asked them to mix 2 colors and blend them in, just for the sake of practicing this technique.

Afterwards I projected pictures of pine leaves on the smart board.  I asked them to notice the shape and the texture and to try and make some branches in a black piece of cardboard.  I asked them to use at least 3 shades of green on each branch, to add deepness and enhance texture.

Once that was done and there were enough branches on their paper, they cut out the (dried out) ornaments and glued them into the branches.  I then asked them to write around the ornaments what did Christmas mean to them.  We wrote with small letters using white colored pencils.  Words such as family, presents, special dinner were seen around their ornaments. Last but not least they splashed a bit of white acrylic paint on top and gave it a snowy touch.

Enjoy.

Art Projects Grades 4 and 5, Middle School Art, Uncategorized

Radial Symmetrical Design

This is a good activity for Grades 4 and up (all the way to 12).

There is quite some mathematical principles in here and the results are always beautiful.

Start by asking the students to outline a perfect square. You can let them come with ideas on how to get there or direct as needed. (You can measure up, draw lots of squares, fold diagonally, measure diagonally…) Just make sure they do a good job measuring up a neat square. Now, how can we find the center? Again, younger students might have fun figuring out on their own. The fastest way is to trace lines from the corners and see where both diagonal lines connect.  You will use the center to add as many circles as you would like. The circles and the lines will help you in aligning your design evenly.  Any pattern or drawing you have in one side, should be repeated around.

Once students finish their designs, I ask them to outline with permanent markers. They then have the option to color their designs using colored pencils, watercolor paint or what I call an ink mess, which is done with a plastic folder, you add color (randomly doodle on top) onto the plastic color, then splash water on top (or alcohol for alcohol based markers). Place your design on top of the watered ink. It leaves a nice randomly colored surface.


This one was colored using colored pencils:

20200507_131948

Here you can see all three methods, ink mess, watercolor and colored pencils:

Art Projects Grades 2 and 3, Art Projects Grades 4 and 5, Uncategorized

End of the Year Thank You Cards

This was a last minute idea and I am so happy about it.

It is not a good idea to start up new projects in the last 2 weeks of school because of drying up time and practicality.  I like to have all finished so in the last 2 classes we can just do sketching exercises or simple activities were we get to use paper scraps or recycling material.  I saw a project where you dye paper using simple (read cheap) markers, a plastic folder and water.  As simple as that.

I asked students to design a THANK YOU logo (I wrote on the board using many different fonts) and they could add drawings as they liked, I only asked them to keep it quite simple.  I then handed them a permanent marker (sharpies or any alcohol based marker) to outline their design.  Once that was done, they wrote something nice inside for their teachers. I helped my youngest (from grades 1 to 3) with prompts such as

Thank you for….

We really appreciate your…..

We enjoyed….

We always looked forward to…..

We liked your……..

Once they had written something nice inside and the design was outlined with a permanent marker, I handed them markers and a plastic folder.  They could choose a combination of colors then just randomly add scribble with the markers on the folder. They then splashed water on top (if using sharpies you will need alcohol instead of water) with an atomizer and place the card on top.

Let dry.

I suggest you peek when they hand those card to teachers. It is rewarding to see them smile!!!

These were made by Grade 2 students:


These were made by Grade 6:


Art Projects Grades 2 and 3, Art Projects Grades 4 and 5, Middle School Art, Uncategorized

Chinese New Year Posters

This is a super fun activity that can be done with elementary or middle school students. Since we started the year of the rat, I asked students to design their own CNY posters. They could include the year (2020) a rat (or rats) and the words Happy Chinese New Year. I handed many different pictures and drawings of rats, from real looking to cute and all in between.  I reminded them to sketch as lightly as possible and to be creative.  I encouraged to use detail and / or a frame.

Once the design was completed, I handed real Chinese Ink and a brush, so they outlined their designs and also practiced their strokes.  For younger students you might want to hand markers instead.

They looked fantastic decorating the windows!


Art Projects Grades 2 and 3, Art Projects Grades 4 and 5, Middle School Art, Uncategorized

Paper marbling!!!

This slideshow requires JavaScript.

I am so excited to present this project to you.  It took quite some trial and mistake! Here you will find the version that worked out  : )

You will need:
Methyl Cellulose (a thickening agent)

Aluminium Potassium Sulfate (AKA Alum)

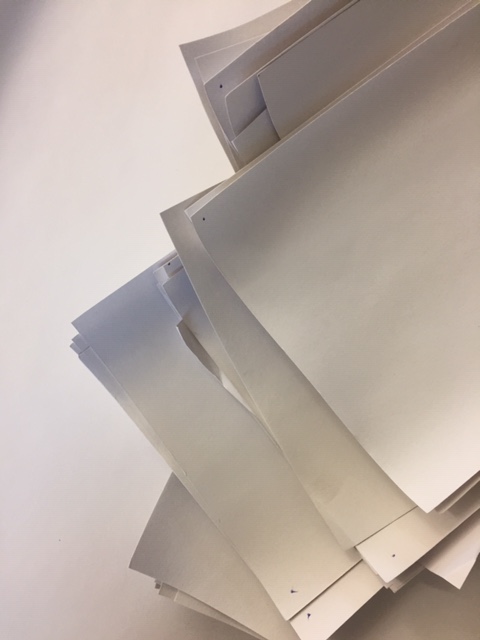
Plain paper (I used regular cardboard, cotton paper and construction paper; all of them worked well)

Oil paints (I got cheap oil paint tubes, 5 bucks for 12 tubes) or acrylic paint both worked well

Painting oil medium (available at art supply stores) (only if you are using oil paint)

Paper cups

A shallow tray, such as a cookie sheet.

You will need to prepare the paper in advance. Mix 2 tablespoons of Alum in 2 cups of warm water. Mix and let cool down, then spray or brush on top of your chosen paper. Make sure to add a dot somewhere so you know which side did you prepare. Once dry you won’t be able to tell.

IMG_7110

Now prepare you water bath. Mix a gallon of warm water with 4 tablespoons of Methyl Cellulose.  Mix well with a balloon whisk, and keep stirring every 10 minutes for an hour, to make sure it thickens evenly.  ***Please note that one of my attempts failed because I just stirred once and left it there.  Do stir every now and then or it won’t work out well.

Once your paper is dry and your bath is ready, pour the liquid (it will have a syrupy consistency) in the tray, about 5 cm deep.

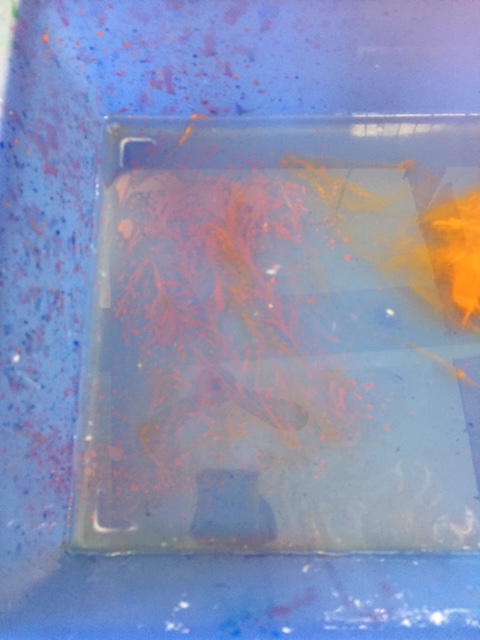
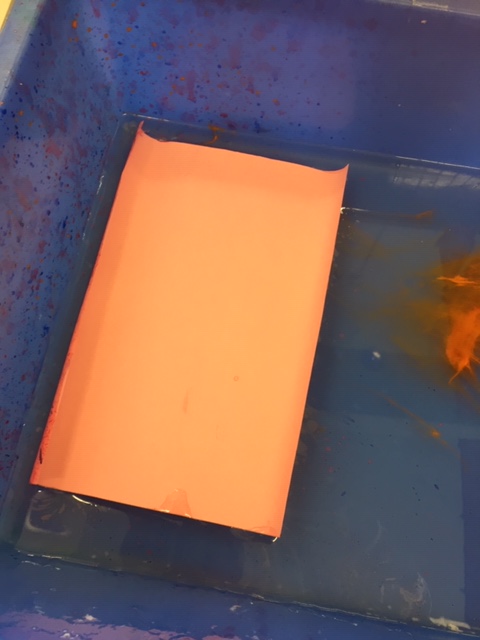
Carefully mix your oil paint with oil, I add a button of paint and doubled that in oil (if using acrylics, mix with water the least water the better, but you need the acrylic quite runny). Mix well.  Use a coffee spoon or a dropper to add drops of water in the tray. You might want to add a drop of soap water (one drop of soap mixed in 1/2 cup of water, this will change slightly how the paint reacts in the water) You can also splash paint with a toothbrush or an old brush.  Use a thin stick (or a toothpick) to add patterns to the water. I like to draw zig zag lines or spirals. This is where you play around and see the different patters you can create. Then add the paper on top (prepared side down) and gently pull from the side of the tray. Rinse with water and let dry.

IMG_7316 (1)IMG_7317 (1)

In between different patterns, you can clean the leftover ink floating in the surface with newspaper.  Some ink might sink, but it wont affect the next prints, just clean whatever was left on the top of your bath.

IMG_7319 (1)

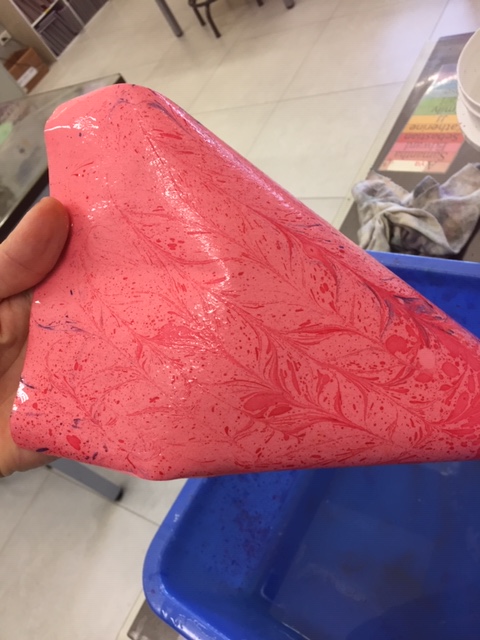
Hope it works well for you. I found it addictive.

Good luck and have fun!

*** I tried out again with Grade 3 students and asked them to write a positive quote once it was dry. They results were fantastic!!
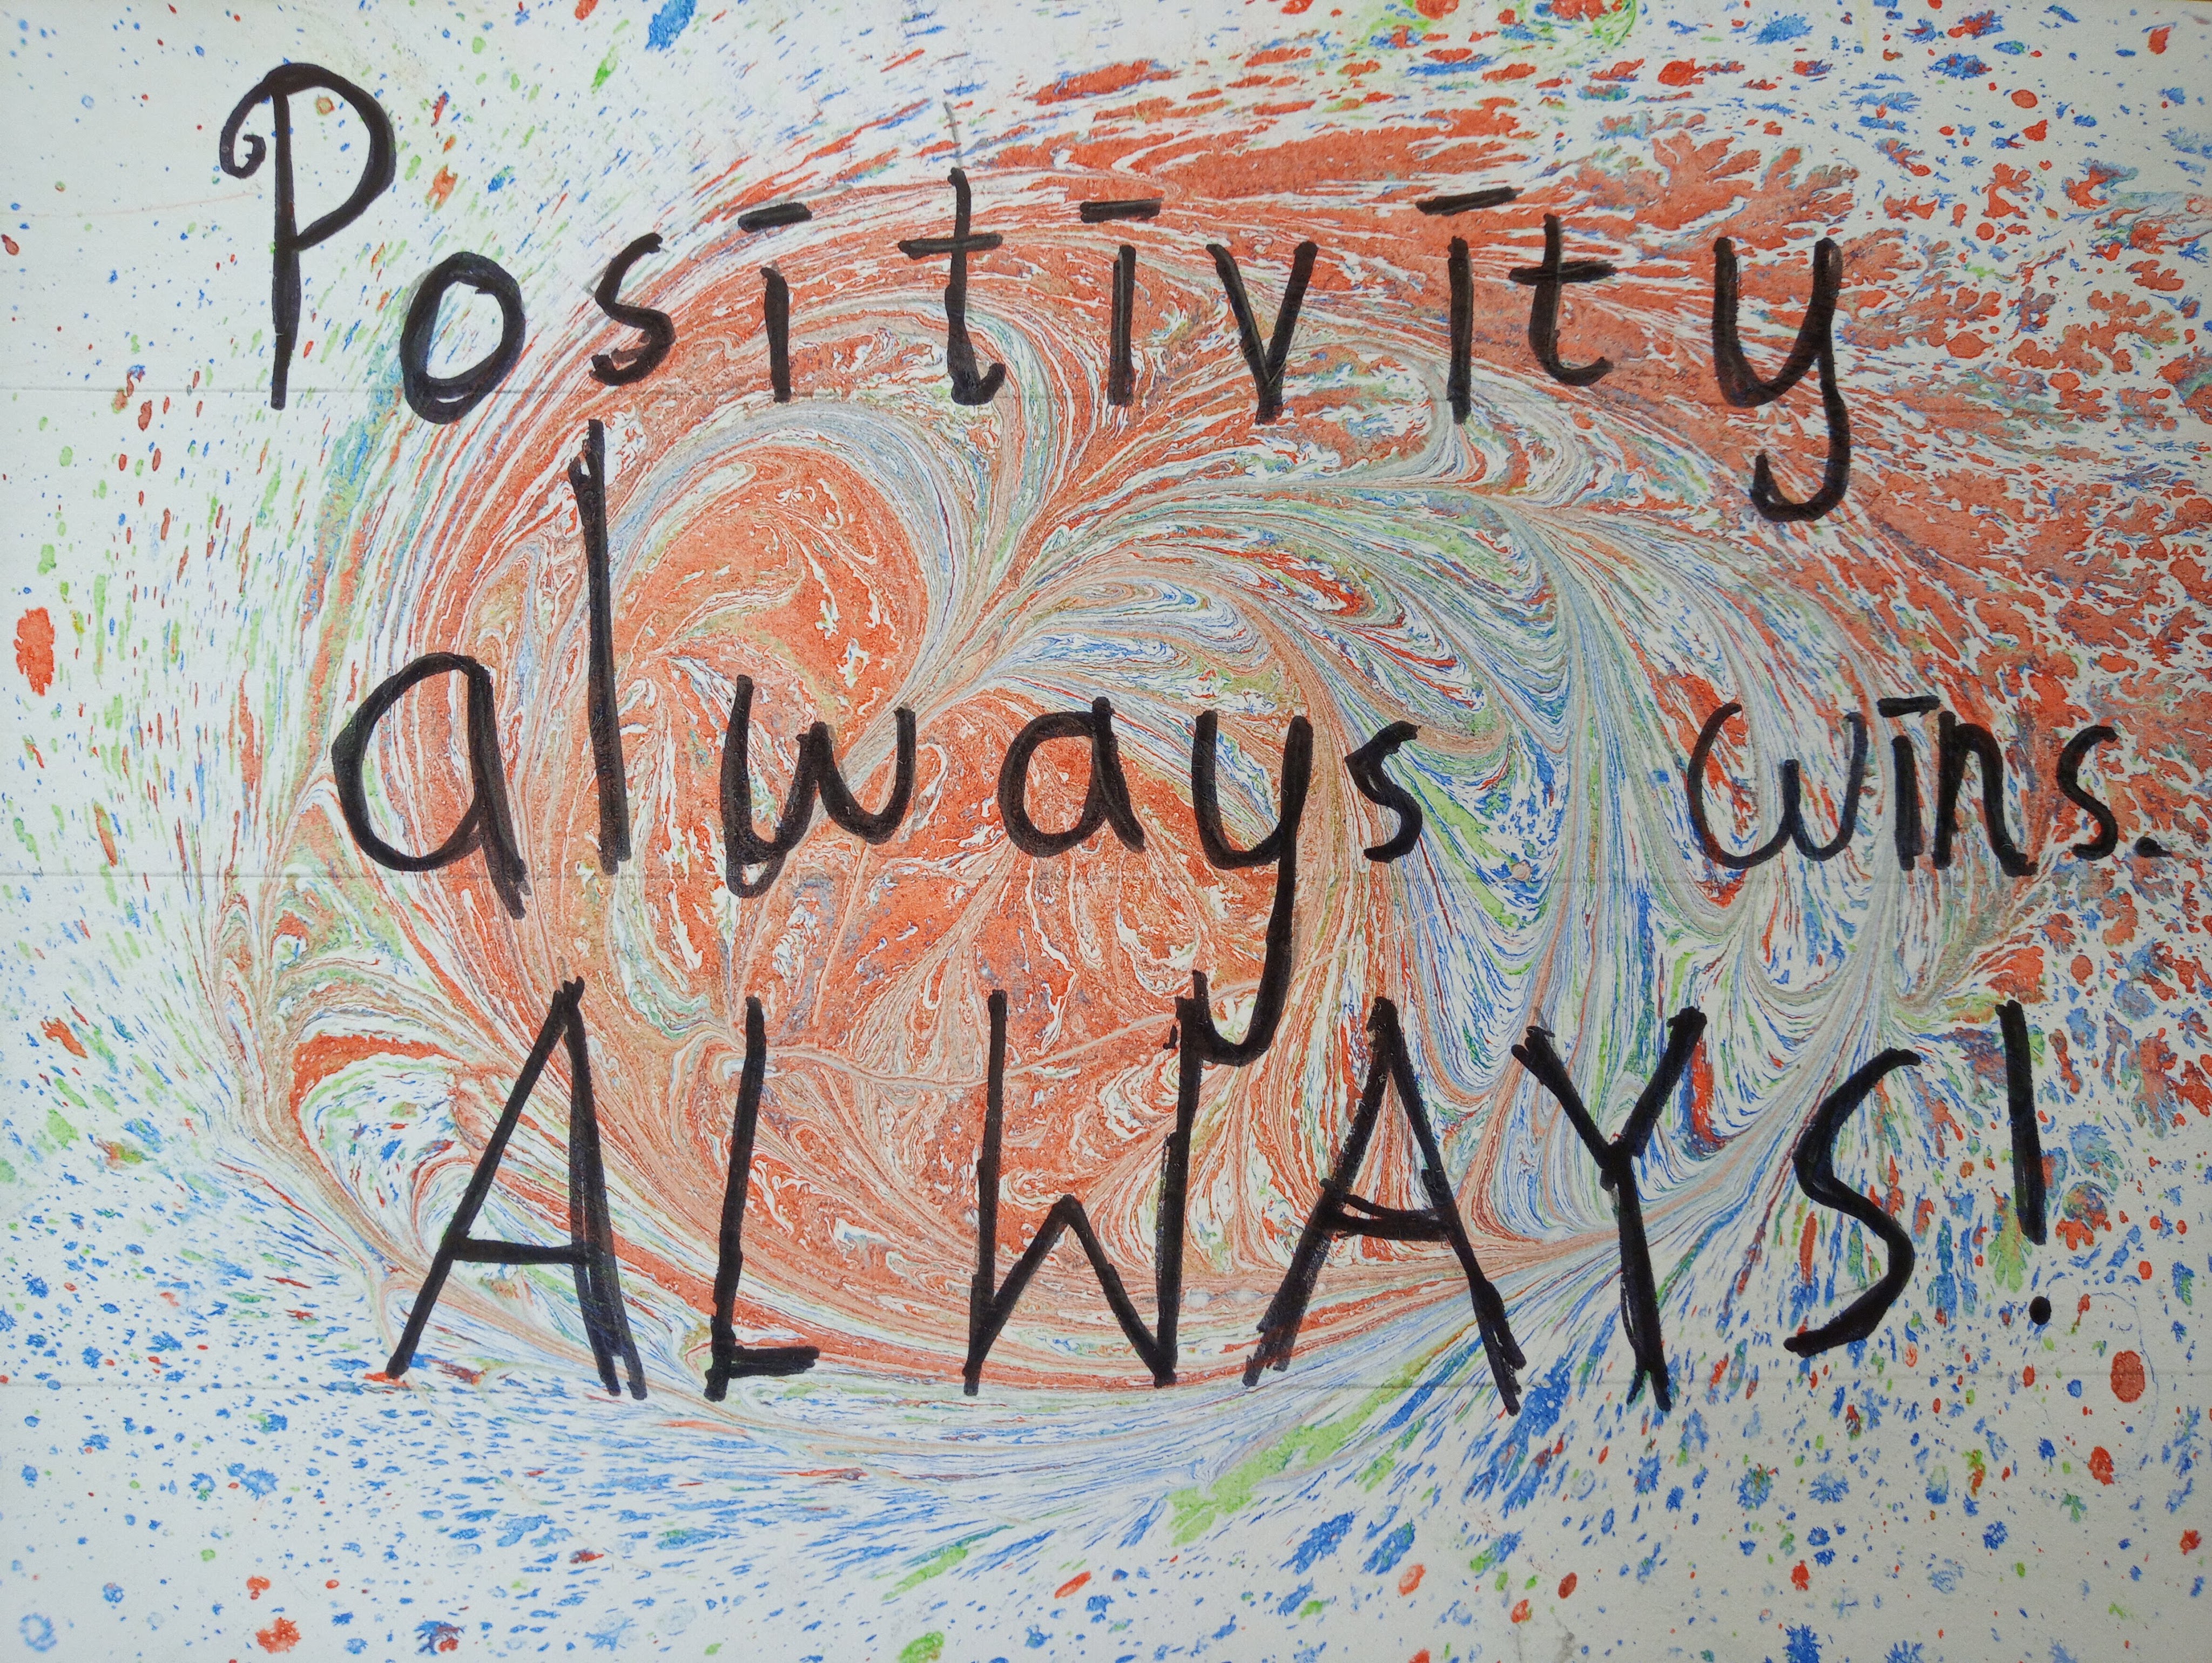
20200504_100953

Art Projects Grades 4 and 5, Uncategorized

Bears in a Storm

This slideshow requires JavaScript.

This is a wonderful winter project for elementary students, in this case, grade 4.

We started by sketching a bear on a piece of cardboard, I handed photos and drawings of different types and styles of bears, so they could choose something of their liking. They were then asked to enlarge and sketch in the cardboard “as big as the paper is”, so the top of the sketch needed to reach the top of the paper and so on.  This is quite challenging for young students, but is a great sketching exercise.  I always remind to them to sketch lightly, we should be able to erase “without seeing a trace” and to identify basic shapes inside our object.  Draw those basic shapes first, then add details until your sketch resembles your object.  Once the sketch was completed, they painted it roughly (uneven strokes will add texture) with brown tempera and immediately outlined it with black paint.  We then prepared the background, using a black piece of cardboard and white acrylic paint.  Students painted a ground level covered with snow and added snowflakes, dots and/or a moon.   Once both papers were dry, they cut out the bear and glued it up on the black cardboard. I asked them to play with it a bit before deciding where would it look good, so it move around before you decide for the right spot! Add more snow with white tempera once you glued up, just make sure there are no parts left popping up, it should look as ONE piece of paper, for this particular project I handed toothbrushes and a Popsicle stick.  Dip in paint then splash a “storm”. Make sure you model the right direction, they instinctively slide the stick from up down, and that splashes paint straight to the face!

Enjoy it!