Art Projects Grades 2 and 3, Art Projects Grades 4 and 5, Uncategorized

End of the Year Thank You Cards

This was a last minute idea and I am so happy about it.

It is not a good idea to start up new projects in the last 2 weeks of school because of drying up time and practicality.  I like to have all finished so in the last 2 classes we can just do sketching exercises or simple activities were we get to use paper scraps or recycling material.  I saw a project where you dye paper using simple (read cheap) markers, a plastic folder and water.  As simple as that.

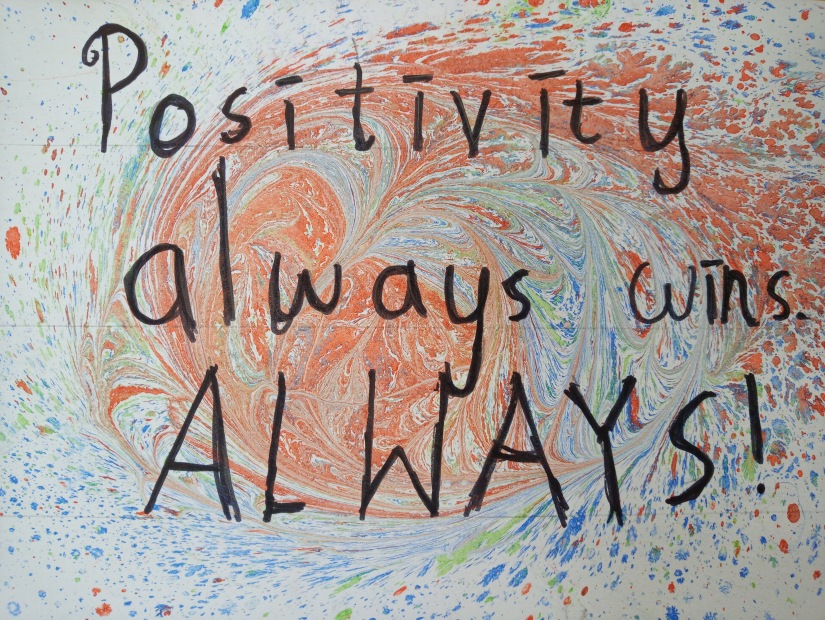
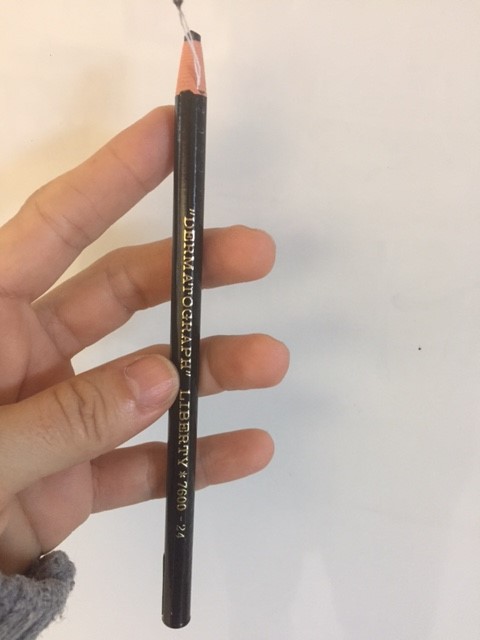
I asked students to design a THANK YOU logo (I wrote on the board using many different fonts) and they could add drawings as they liked, I only asked them to keep it quite simple.  I then handed them a permanent marker (sharpies or any alcohol based marker) to outline their design.  Once that was done, they wrote something nice inside for their teachers. I helped my youngest (from grades 1 to 3) with prompts such as

Thank you for….

We really appreciate your…..

We enjoyed….

We always looked forward to…..

We liked your……..

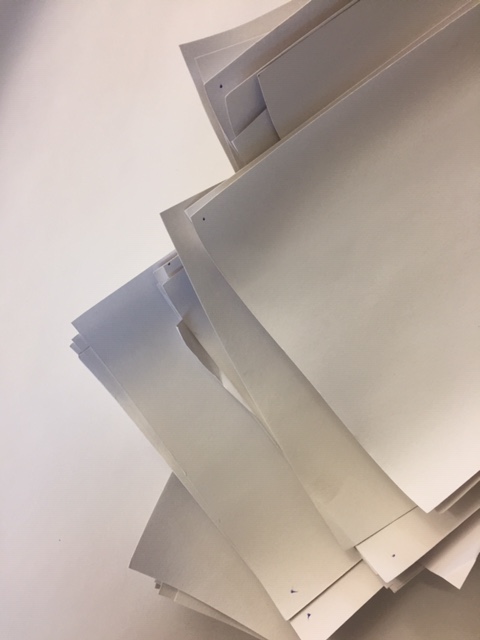
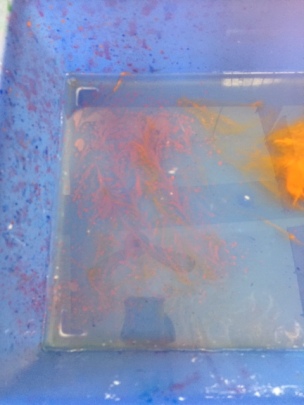
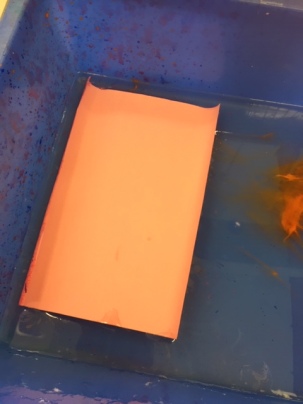
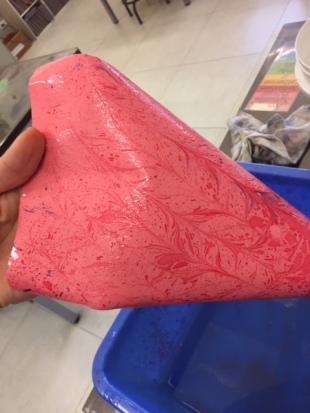
Once they had written something nice inside and the design was outlined with a permanent marker, I handed them markers and a plastic folder.  They could choose a combination of colors then just randomly add scribble with the markers on the folder. They then splashed water on top (if using sharpies you will need alcohol instead of water) with an atomizer and place the card on top.

Let dry.

I suggest you peek when they hand those card to teachers. It is rewarding to see them smile!!!

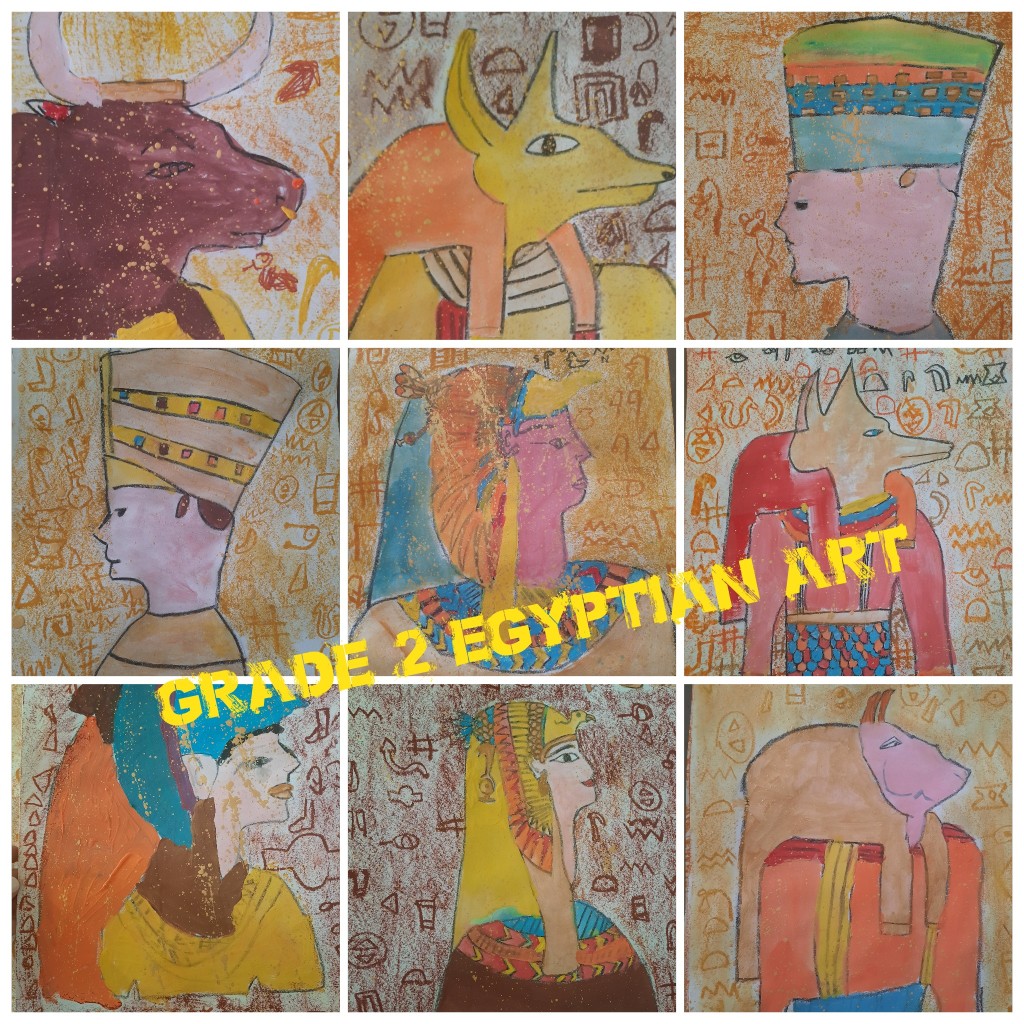
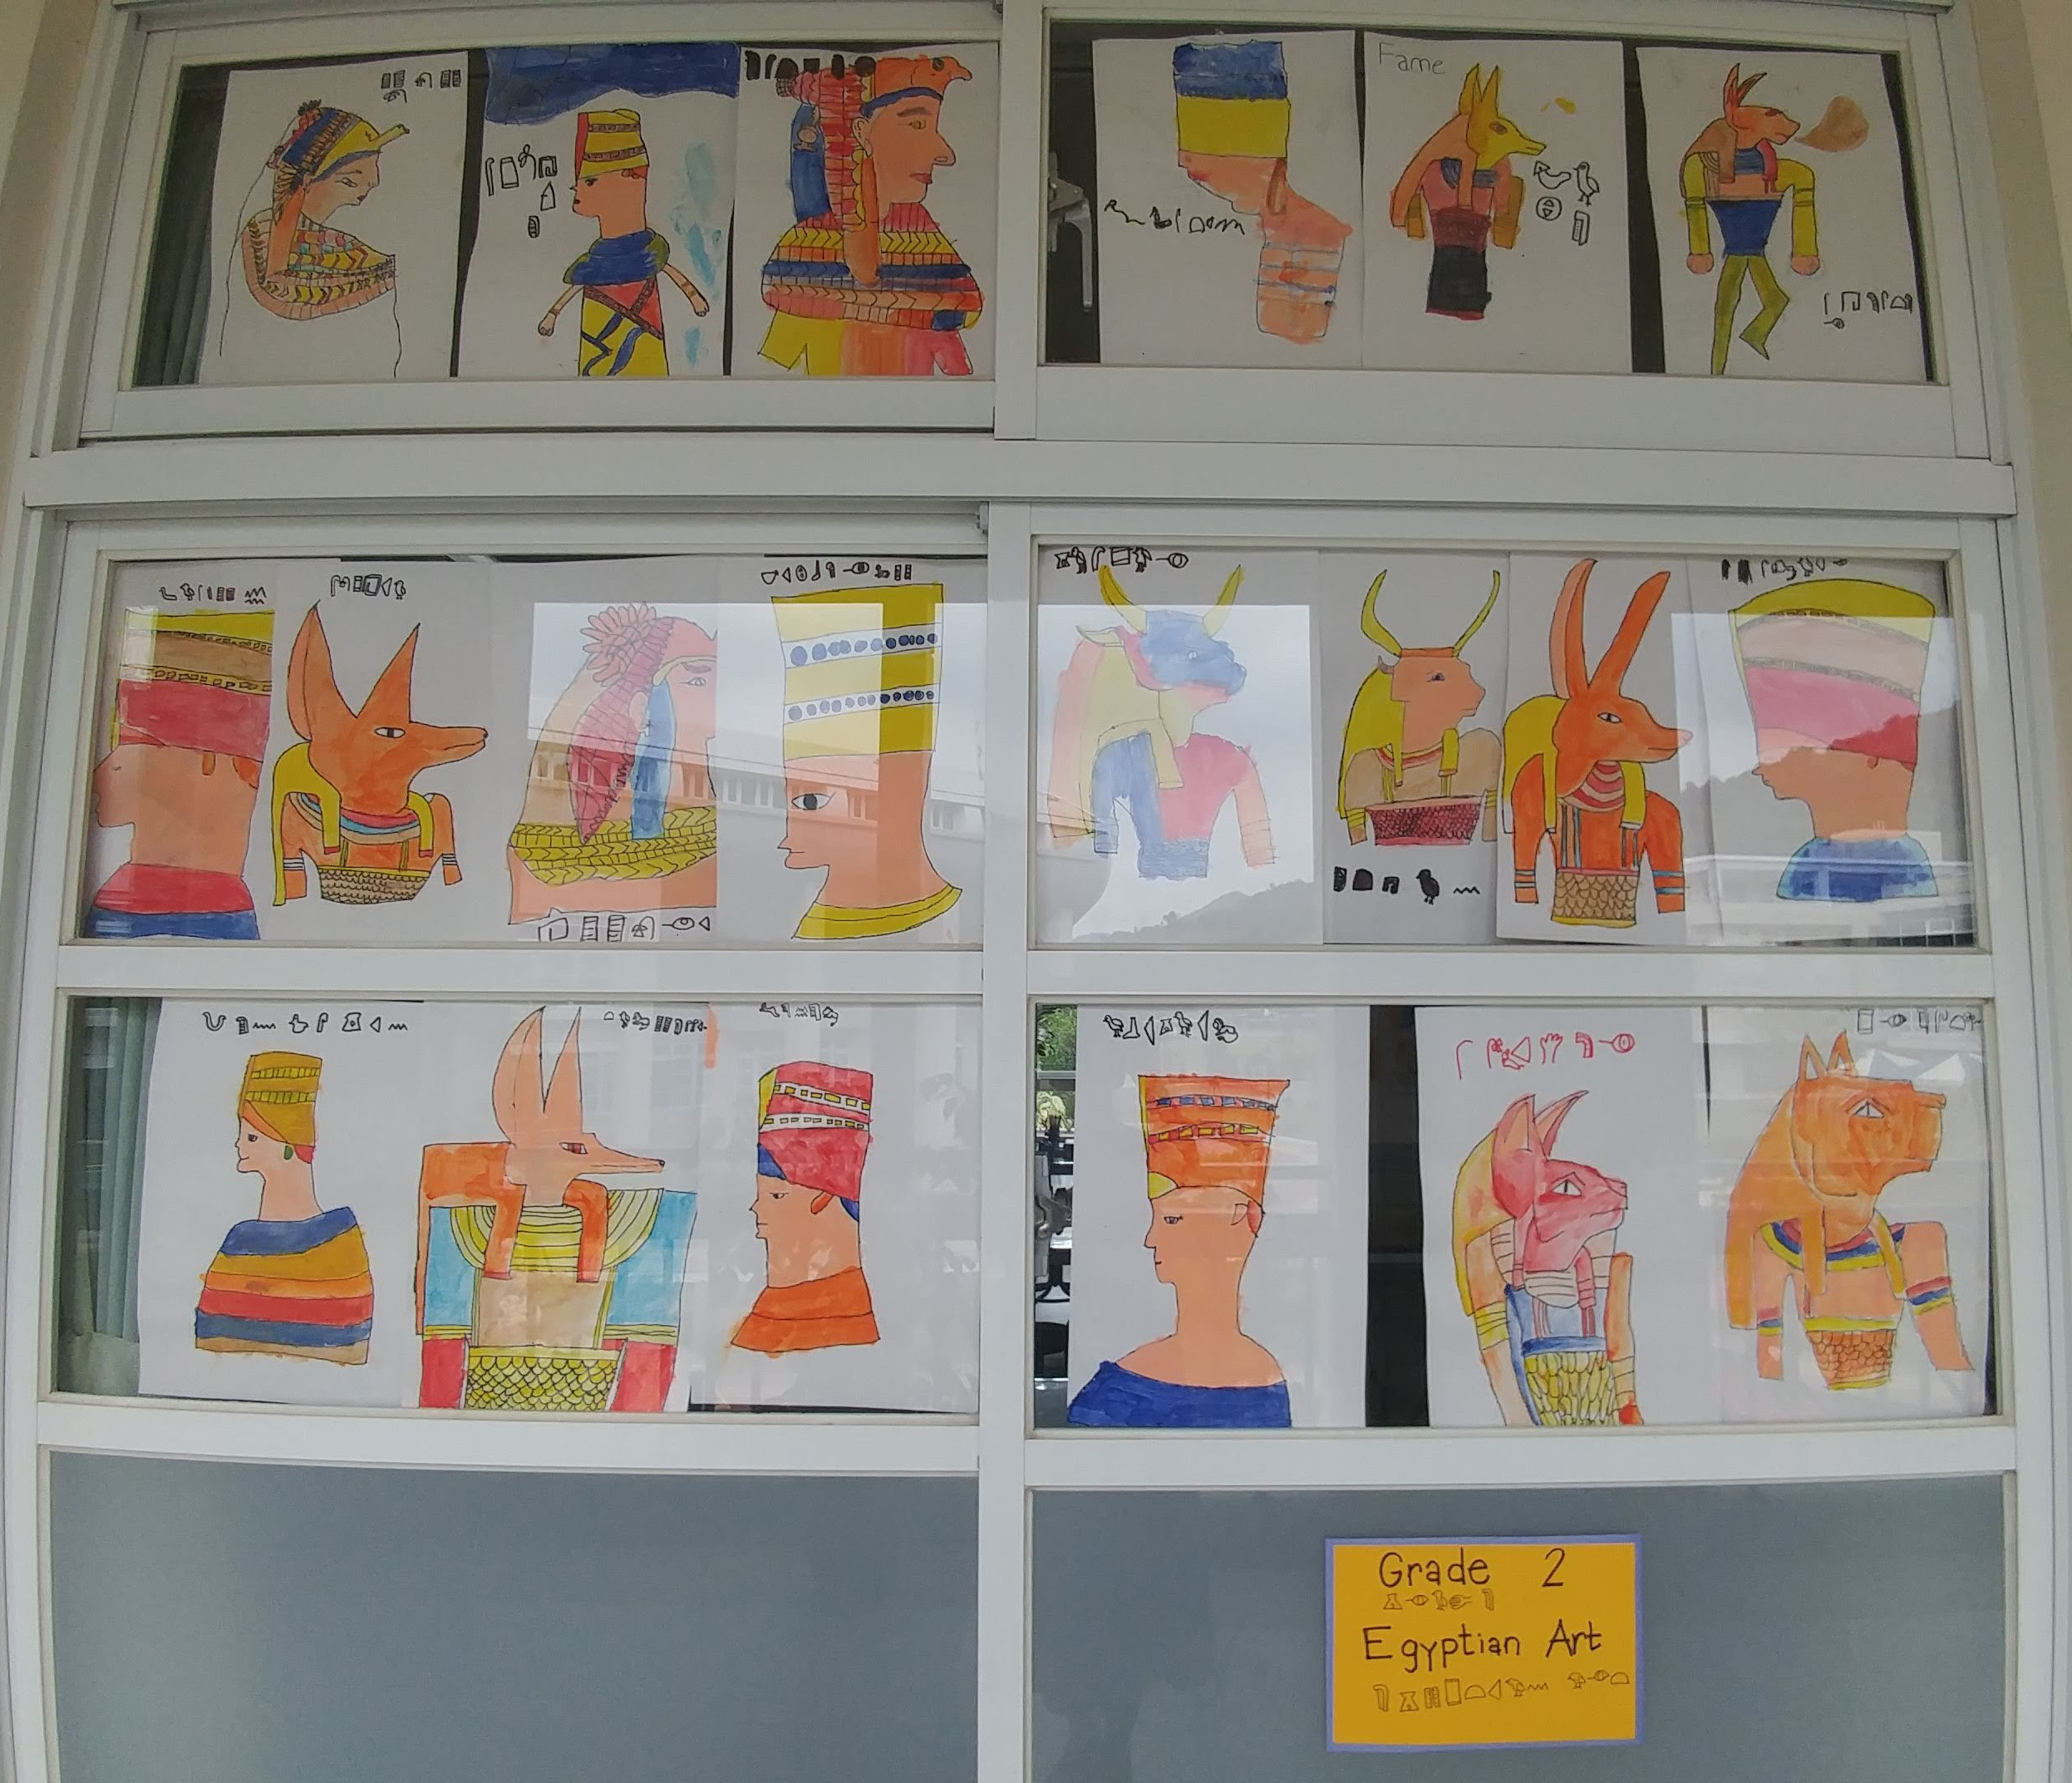
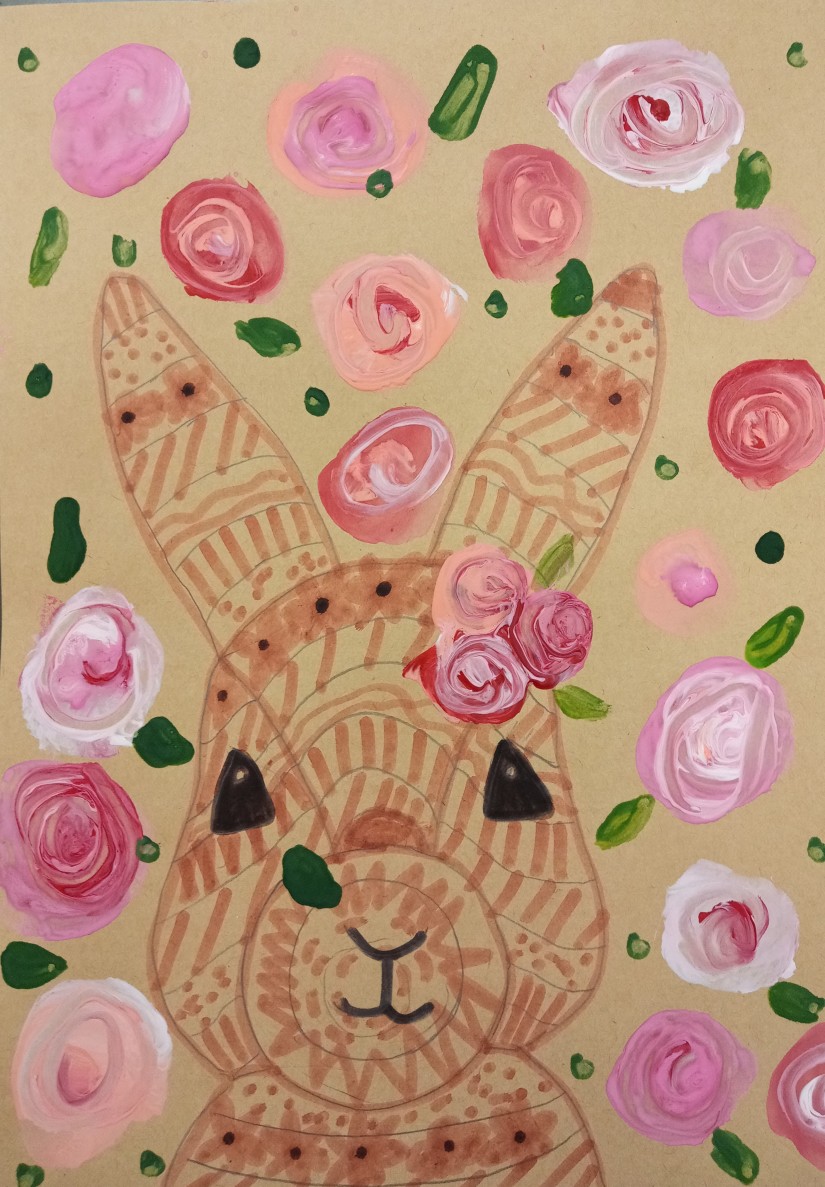
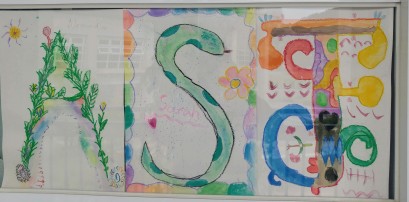
These were made by Grade 2 students:


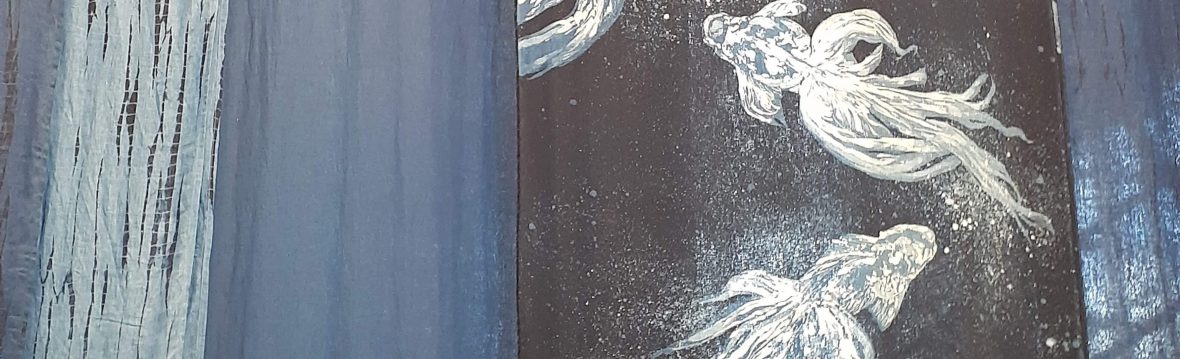
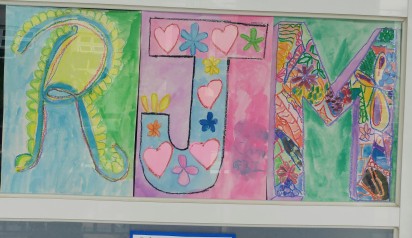
These were made by Grade 6:


Art Projects Grades 2 and 3, Uncategorized

Spring time bunnies

This super cute bunnies are a great spring / Easter time project.

My grade 2 students loved this one, but even my middle school (girls) asked me to do it with them.

I found patterns all over Pinterest to make a similar outline. You can do any animal you like, just outline (I traced a few on cardboard, then asked my students to trace the cut out on brown cardboard) and then add lines inside, trying to make the lines evenly spaced (about 1 inch each, very lightly with a pencil).

I then handed brown markers and asked students to outline again, then to fill each space with a different pattern (in my case we went through the concept of patterns), making sure the pattern is not repeated (creativity) and that it fills in the whole space. Students go filling line by line with different lines and shapes. Once done, they can fill in the eyes and outline the nose with a black marker.  I asked them to leave a dot in the eyes to make it look like reflected light.

Once that part was finished, I prepared palettes with 2 shades of pink, red, green and white paint (you may use temperas or acrylic, though acrylic a bit risky with grade 2s, just supervise well). I demonstrated how to make swirl roses, you simply make a circle with one shade of pink or red, then add a dot of paint in the middle in a different color (a different shade of pink, white or red).  Once you have many in different spots, you can use a Q tip to swirl the paint from the center out.  Leafs and polka dots can be added with the other side of the Q tip and green paint if desired.

Enjoy.

Springtime bunnies

Art Projects Grades 2 and 3, Art Projects Grades 4 and 5, Middle School Art, Uncategorized

Chinese New Year Posters

This is a super fun activity that can be done with elementary or middle school students. Since we started the year of the rat, I asked students to design their own CNY posters. They could include the year (2020) a rat (or rats) and the words Happy Chinese New Year. I handed many different pictures and drawings of rats, from real looking to cute and all in between.  I reminded them to sketch as lightly as possible and to be creative.  I encouraged to use detail and / or a frame.

Once the design was completed, I handed real Chinese Ink and a brush, so they outlined their designs and also practiced their strokes.  For younger students you might want to hand markers instead.

They looked fantastic decorating the windows!


Art Projects Grades 2 and 3, Art Projects Grades 4 and 5, Middle School Art, Uncategorized

Paper marbling!!!

This slideshow requires JavaScript.

I am so excited to present this project to you.  It took quite some trial and mistake! Here you will find the version that worked out  : )

You will need:
Methyl Cellulose (a thickening agent)

Aluminium Potassium Sulfate (AKA Alum)

Plain paper (I used regular cardboard, cotton paper and construction paper; all of them worked well)

Oil paints (I got cheap oil paint tubes, 5 bucks for 12 tubes) or acrylic paint both worked well

Painting oil medium (available at art supply stores) (only if you are using oil paint)

Paper cups

A shallow tray, such as a cookie sheet.

You will need to prepare the paper in advance. Mix 2 tablespoons of Alum in 2 cups of warm water. Mix and let cool down, then spray or brush on top of your chosen paper. Make sure to add a dot somewhere so you know which side did you prepare. Once dry you won’t be able to tell.

IMG_7110

Now prepare you water bath. Mix a gallon of warm water with 4 tablespoons of Methyl Cellulose.  Mix well with a balloon whisk, and keep stirring every 10 minutes for an hour, to make sure it thickens evenly.  ***Please note that one of my attempts failed because I just stirred once and left it there.  Do stir every now and then or it won’t work out well.

Once your paper is dry and your bath is ready, pour the liquid (it will have a syrupy consistency) in the tray, about 5 cm deep.

Carefully mix your oil paint with oil, I add a button of paint and doubled that in oil (if using acrylics, mix with water the least water the better, but you need the acrylic quite runny). Mix well.  Use a coffee spoon or a dropper to add drops of water in the tray. You might want to add a drop of soap water (one drop of soap mixed in 1/2 cup of water, this will change slightly how the paint reacts in the water) You can also splash paint with a toothbrush or an old brush.  Use a thin stick (or a toothpick) to add patterns to the water. I like to draw zig zag lines or spirals. This is where you play around and see the different patters you can create. Then add the paper on top (prepared side down) and gently pull from the side of the tray. Rinse with water and let dry.

IMG_7316 (1)IMG_7317 (1)

In between different patterns, you can clean the leftover ink floating in the surface with newspaper.  Some ink might sink, but it wont affect the next prints, just clean whatever was left on the top of your bath.

IMG_7319 (1)

Hope it works well for you. I found it addictive.

Good luck and have fun!

*** I tried out again with Grade 3 students and asked them to write a positive quote once it was dry. They results were fantastic!!

20200504_100953

Art Projects Grades 2 and 3, Uncategorized

Reindeer Portraits

This slideshow requires JavaScript.

This is another fun winter project suitable for elementary students, in this case, it was grade 3 students (I can see their sketching skills improving substantially!).

We talked about different winter animals that have antlers and explained that antlers fall off every year, and regrow a brand new (and bigger) set again.  This is pretty much know off in some parts of the world, but when I first heard about it I was shocked, and so were my students, they actually didn’t believe me at first!

I handed different photos and drawings of reindeer.  They selected on of their liking and went ahead to sketch it as big as possible in a piece of blue cardboard.

Once they were happy with their sketch, they outlined it with a black wax crayon.  I used regular crayons in the past, until I found this inexpensive treasure:

IMG_7156

These type of crayons allow neater and straighter lines, and I love them. I just remind my students to stay clear of the white tread (PLEASE IGNORE THE WHITE THREAD AND DO NOT TOUCH IT), or they would LOVE to peel off the whole crayon in 5 seconds.  So far, I have not had any with them, but be pretty clear about it.

Once it is all outlined (I also request to fill in the eyes and the nose), they can go on and paint with temperas, I handed palettes with white, light and dark brown and golden paint.  Let dry.

To finish this project let them splash white paint and/or add stars using yellow paint.

I so much enjoy seeing my students’ personalities reflected in their work somehow…..

Enjoy it!

Art Projects Grades 2 and 3, Art Projects Grades 4 and 5, Uncategorized

Family Crest

This project turned out awesome. Grade 5 students got some information on Family Crests and Coats of Arms.  Since they love knights and armors, they were hooked right away.

I asked them to design their family crest. The guidelines were that the armor had to be symmetrical (they needed rulers and kept measuring as they worked to make sure the lines were the same on both sides) and they needed to include at least 3 items from a sample (supporters, ribbon, crest, motto, emblem….) and the drawings included needed to represent their families somehow.   They all loved it because they took pride on their work. It was all about what they are and how do they represent themselves to the world around them.  Once they worked on a design, (next class) they got a larger piece of white cardboard where they had to enlarge their crests. I need to remark that we use art journals to plan and sketch ideas.  I kept reminding them that they need to sketch lightly. Next class, they outlined with permanent markers, and I had to remind to them to use rulers if necessary so the lines outlined looked nice and straight; once they finished outlining, I asked them to write on the back a description of what the Family Crest they designed represented. I learned SO MUCH about them when I read the information! It was very interesting to read about royal ancestors, banana plantations, parents stung by jellyfish and families that camp every 2 weeks! Talk about a good icebreaker activity.  Next class they painted their masterpieces with watercolors.

Here are some of the projects, what do you think?


Art Projects Grades 2 and 3, Uncategorized

Romanesque Calligraphy

As part of our Art History unit, grade 3 students were introduced to the Middle Ages and the Romanesque Calligraphy. They loved to hear about monks copying books by hand and illustrating letters with such artistic detail. Once we outlined the basic guidelines: lots of decorations (over saturated) and use of bold and bright colors, we proceeded to sketch the first letter of our names in a larger piece of cardboard and then adding many details to it to make it look like the ones used to write books during the middle ages.

We used oil pastels to make a water color resist. First we outlined all of our design with the pastels and then we carefully filled in using watercolors.

The whole project took 4 classes to complete: One class to design our letter, one class to outline the design using oil pastels and 2 classes to fill in with water colors.  The class were great and used bold colors and interesting designs in their artwork.  One student in grade 3 is autistic, and his letter is very intense and full lines that were traced with quite some strength.  He was a bit upset with another classmate when we were working and I could see how his anger was projected into his work.  Have you noticed how personalities show up into students artwork without them being aware of it?

***UPDATE****

I made this project again but gave students light brown cardboard, which adds an antique look to the final product.  We also outlined with black but added detail with oil pastels once the watercolor was dried out.

Enjoy!

20181024_13222020181024_132215

20200827_131258   
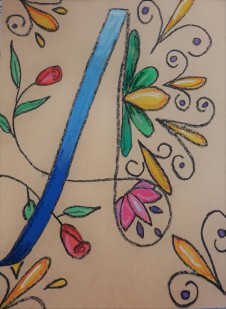
Better with brown cardboard I think!


Art Projects Grades 2 and 3, Art Projects Grades 4 and 5, Art Projects Prekinder and Kindergarten and Grade 1, Uncategorized

Acrylic Sunflowers

My grade one class has behaved beautifully and as promised we will paint using acrylics.  They deserve it!

I handed the class a picture of a sunflower and they were asked to sketch one in their sketchbooks but “zooming in” the image.  It is quite a skill to copy a drawing and making it bigger.  They had to fill in the page, and if the flower was not as big as the paper they could make half of another one to cover up the empty space. Some did end up with more than 5 flower in their books.  Once a final design was complete, they sketched it into a black piece of cardboard, using a pencil. They were surprised we were using a pencil since they could hardly see the sketch on it, but I explained that it was the objective!

This projects includes painting with a brush and printing dots using a Q tip.  Step 1 is to start at the very center of our sunflower and work in layers moving out covering all of the surface with “seeds” they should randomly change between brown and yellow colors without mixing up the paint as they go.  This process will take up to 2 classes for slower students. Patience makes masters.

Step number two is using a brush to make our petals. I handed 2 shades of yellow and white. Students where shown how to keep changing colors without rinsing the brush (just the occasional dip in water), this will give light and texture to our flowers.

Students LOVED the contrast of the flowers against the black background and the feel of the acrylic paint (someone compared it to butter).  I promised we would do another project if they keep behaving so well in art class!

20181024_131414

Art Projects Grades 2 and 3, Art Projects Grades 4 and 5, Uncategorized

Aztec Masks

I started a new project with my grade 2 classes.   This project would be suitable to any elementary grade.

I introduced the students to interesting facts about the Aztec Civilization with a short power point.  There is lots of very interesting facts and they are a great hook!  I asked students to practice sketching a mask in their sketchbooks (you could just use scrap paper as well). The guidelines were to use symmetry and elements observed in samples provided.  This is a great project to introduce students to symmetry, how to use a ruler to make both sides of our mask almost identical.  They can then design a mask that suits their own style and once it is complete they can proceed to sketch it in a larger piece of white cardboard or watercolor paper (which is a bit pricey!).  I have found that cheaper cardboard holds water good enough for early elementary.

Once the design is finished, they can trace over it using a black permanent marker, leaving it ready for next class, which is when we will have lots of fun painting over it with watercolors.  You do not necessarily need watercolors for this project. Temperas and acrylics will also work great, but since my grade 2 classes just used temperas for the last project, I chose watercolors to give them a different feeling and practice a different skill.

When they finished they were provided with characters and they could add some into the background as well. This was much more difficult specially for younger students, but some did try out and enjoyed it.


This slideshow requires JavaScript.

Art Projects Grades 2 and 3, Art Projects Grades 4 and 5

Ancient Egypt Art

I teach Art History during Quarter 1.

Grade 2 was the lucky grade that got a lesson on Ancient Egyptian Art.  We talked about Egypt: where it is, about the pyramids, the colors used in the paintings, about frontalism (the head drawn in profile with both shoulders facing front) and hieroglyphics.

Students had a few samples to choose a style from and then sketched their own drawing in a larger piece of cardboard.  Once the design was final they outlined with a permanent black marker and proceeded to color with tempera paint. They used bold colors, as the ones used by ancient Egyptians.

The students got a demonstration on how to handle the brushes correctly, how to dip, blot and use paint carefully and I was proud of how the lesson went. They were so excited to finally be able to use brushes and paint that they followed through my directions beautifully.

*UPDATE: This year I asked the students to use oil pastels to write more hieroglyphs in the background with a “pyramid stone color” of their choice. Once the background was filled with symbols, they placed the oil pastel horizontally against the paper and drew over the whole surface softly. We also splashed golden paint on top, and the results were fantastic. 

Enjoy!

This image has an empty alt attribute; its file name is 1601268869177-1.jpg


20180912_130849

I asked the students to use the code pictured here to write down their names. It was a total hit and very educational, as we discussed the topic, and understood how the drawings are used to write words.


20180912_111626.jpg