Look no further, here you have ideas to have your students busy with Chinese New Year Themed Art Projects!
We have been busy from Pre Kinder to Middle School creating CNY themed artwork. The upcoming year is the year of the Tiger, so we have all sort of Tiger projects decorating our walls.
My youngest students from Pre Kinder made the cutest cartoon style Tigers:

This was simple to put together, and students have been great at learning to listen before working (quite a challenge at their young age and painting supplies in their hands!). We did a directed sketch, first we outlined (pencil) a simple oval shape for the head using a stencil and added two lines for the tiger body as well as two ears in the sides of the head. Once the outline was done, we painted with warm colors the tiger shape, let it dry and then we painted leaves using cool colors. Once all was dry, we outlined the Tiger shape with a black marker, and I directed them step by step on how to make a simple yet cute face, and then they added the stripes. To add a more finished touch, we used green crayons to outline and add detail to the leaves we painted previously. They look adorable!
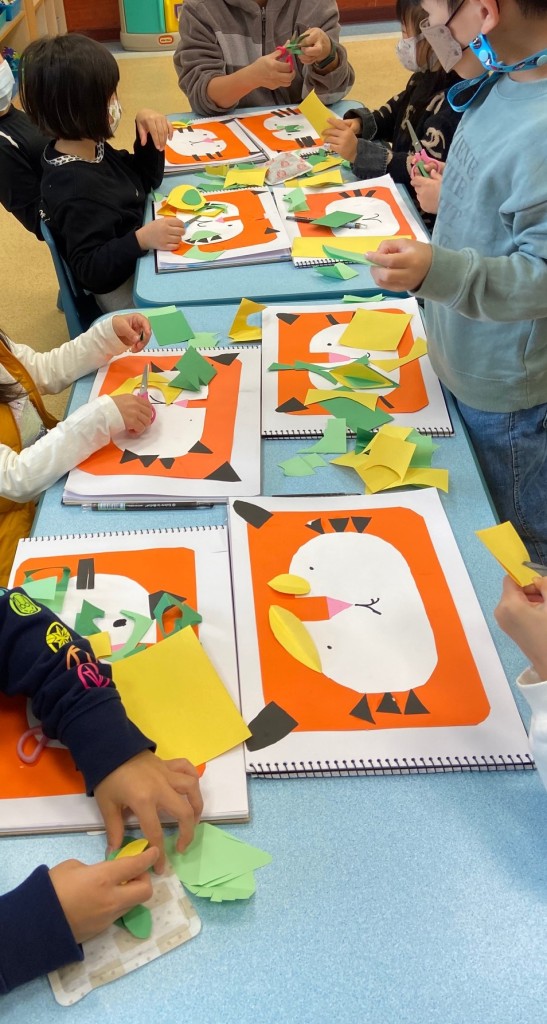
Kindergarten students made a Tiger Collage. They got stencils and different colors of paper (construction paper). They were busy for 2 classes cutting and assembling they lovely Tigers. They added the eyes and mouth using a black marker. The picture below shows the half way through project, they were adding leaves around the face using both green construction paper and patterned paper.
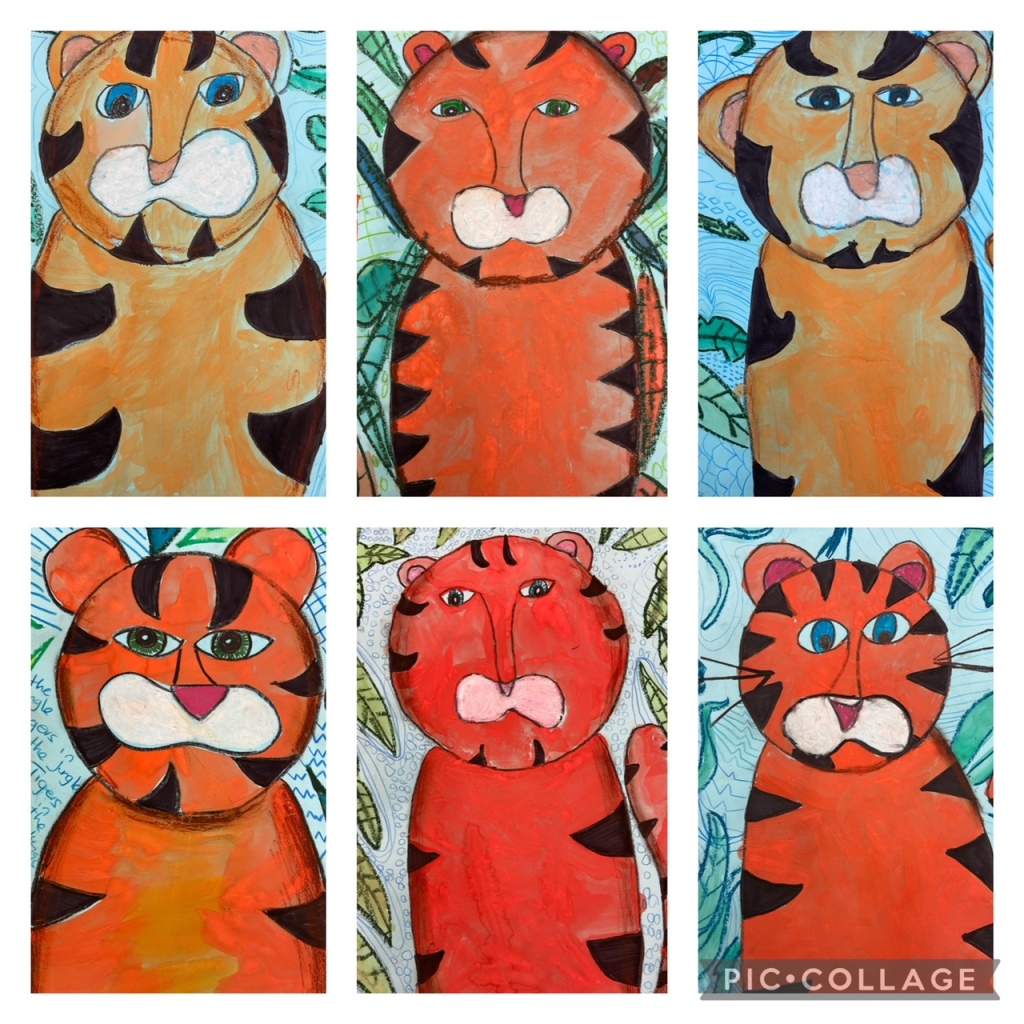
Grade 2 students made a similar version, with a more sophisticated Tiger. I directed a sketch (practice first in either a sketchbook or scrap paper) and then we redo on a light blue piece of cardboard. Proceed to outline the whole drawing with a black crayon, including the eyes; I asked them to leave a small circle in the middle of the eyes to resemble light. The crayons that you spiral up are user friendly, but any thin black crayon works for this wax resist. Once outlined, they painted the Tiger, using tempera disks, just make sure they add a lot of paint and not too much water, because the paper is blue; at this point do not pay attention to the stripes. The stripes were filled with a water based black marker and students then drew leaves with green oil pastels. I also handed them brown oil pastels to add a bit of shade on the sides of the body and head, as well as white and pink to fill in the nose and whisker area. On our last day I asked students to fill the empty space found on the blue paper, with any pattern they preferred using colored pencils, once the space was filled, they water colored the leaves (previously outlined with crayons). Loved this project!
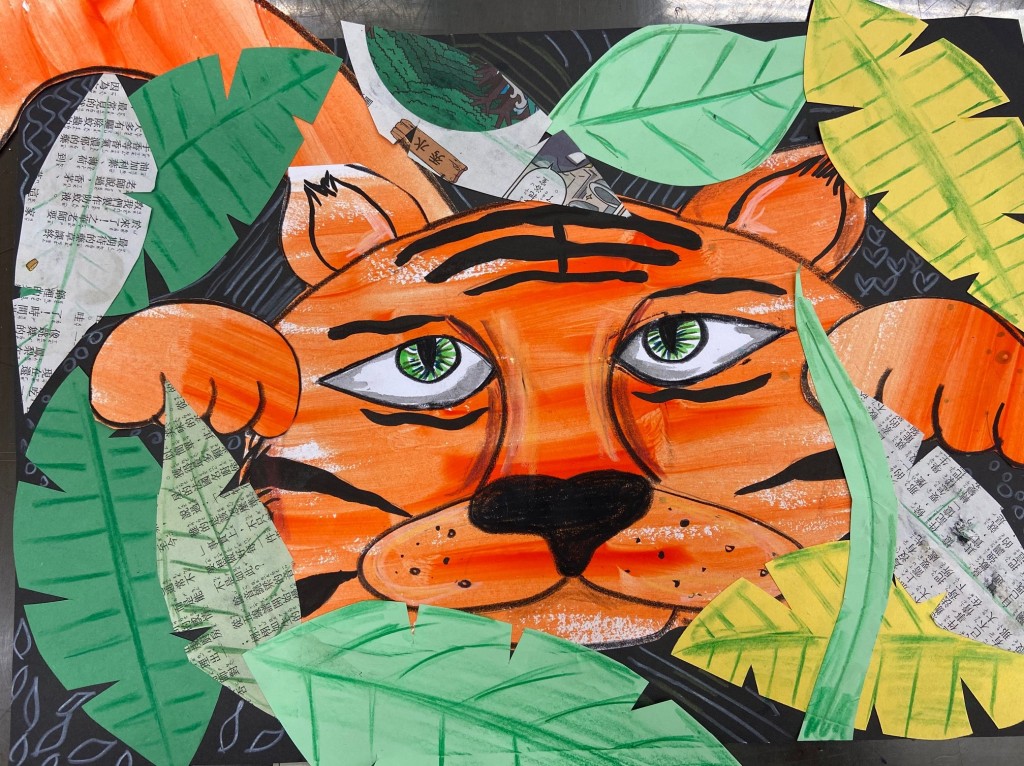
Grade 3 students made a mixed media Tiger. We started by painting 2 sketchbook pages with orange tempera paint. I specifically asked students to be rough as we wanted to see the strokes and some blank patches. We then sketched a yet more sophisticated Tiger in one page and a tail and two paws in the other, practice once in a different page or scrap paper, then move on to the painted pages. We outlined the sketch using black crayons and added eyes using white cardboard (draw, cut and stick). Make sure you cut on a folded paper so the eyes are symmetrical. We then cut many leaves using different types of paper: cardboard, construction, newspaper and/or patterned paper. I handed a black piece of cardboard to attach all the pieces we had cut, but I asked them to play with the composition first. Once all was well glued, we added detail using colored pencils, same as the project above, we filled the blank space (black cardboard) with patterns using a white color and added detail on the leaves using either black, brown, dark green or dark blue. They also added a bit of shading on the sides of the Tiger’s face and snout using brown colored pencils. Finally and super carefully, last day we added stripes using black Chinese Ink and a brush. We had the option to use dirty water (from the same ink and brush) to add a bit of gray around the white part of the eyes. Stunning!
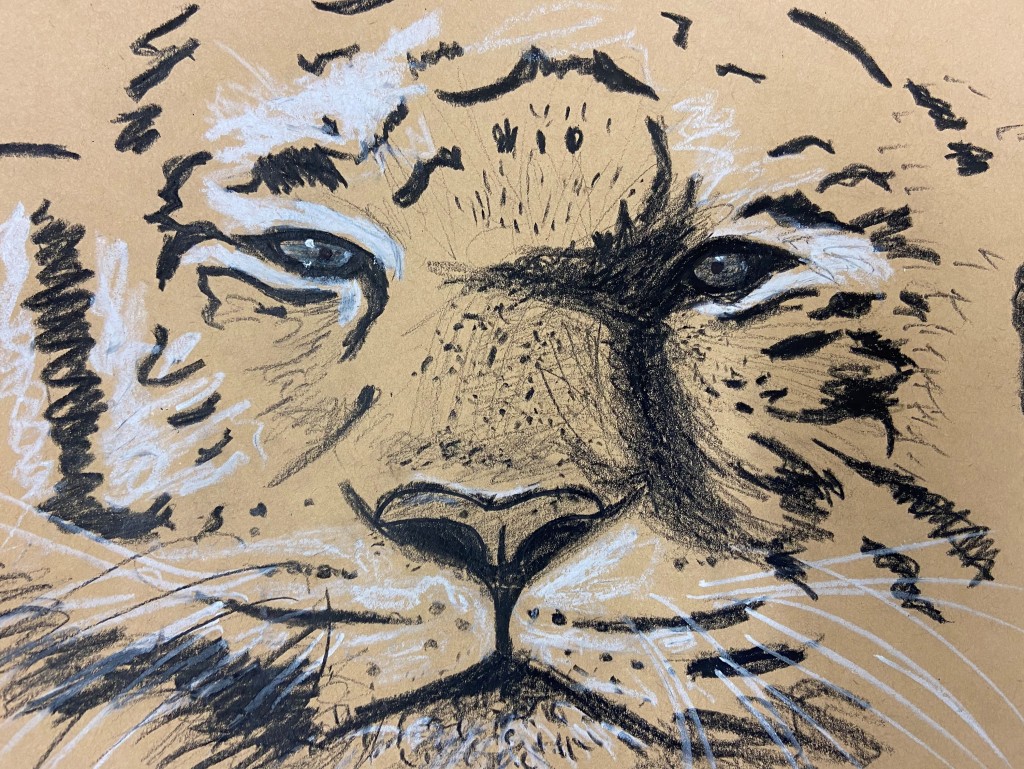
Grade 4 students used a image transfer trick to make impressive Tiger sketches. Visit my pop art post to learn how to use this technique here.
We started with different picture of Tiger faces. Students selected one and proceeded to use the transfer trick (linked above) to transfer the outline of the features into natural colored cardboard. Once you have a sketch and you can see were the features are, use a black marker to outline both the eyes and nostrils. We then focused on darker and lighter areas (the picture were black and white so this was easy to identify) and used black or white oil pastels as needed to add as much detail as possible. Pay attention to the direction of the fur and it is a good day to introduce students to monochromatic drawing and different values of gray. Because we transferred the outline of the features and stripes first, the real looking Tigers look impressive on our windows. Last and final step was to add a bit of color to the eyes and a dot of white (using oil pastels) to mimic light reflection.
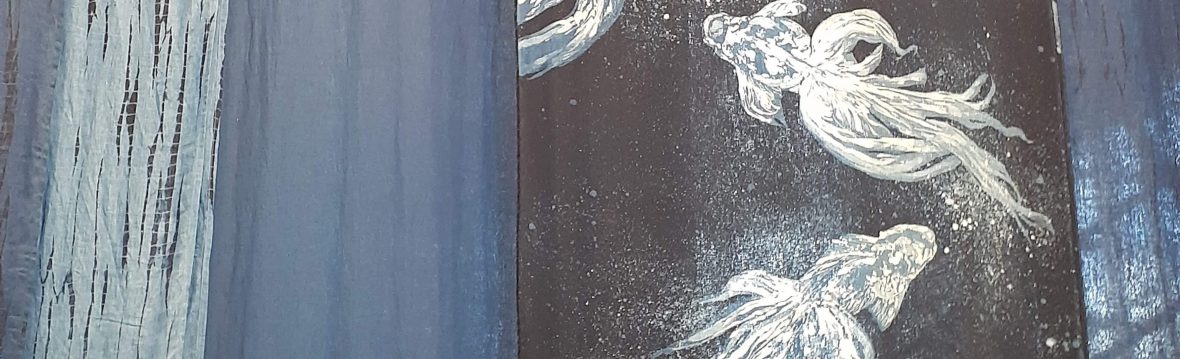
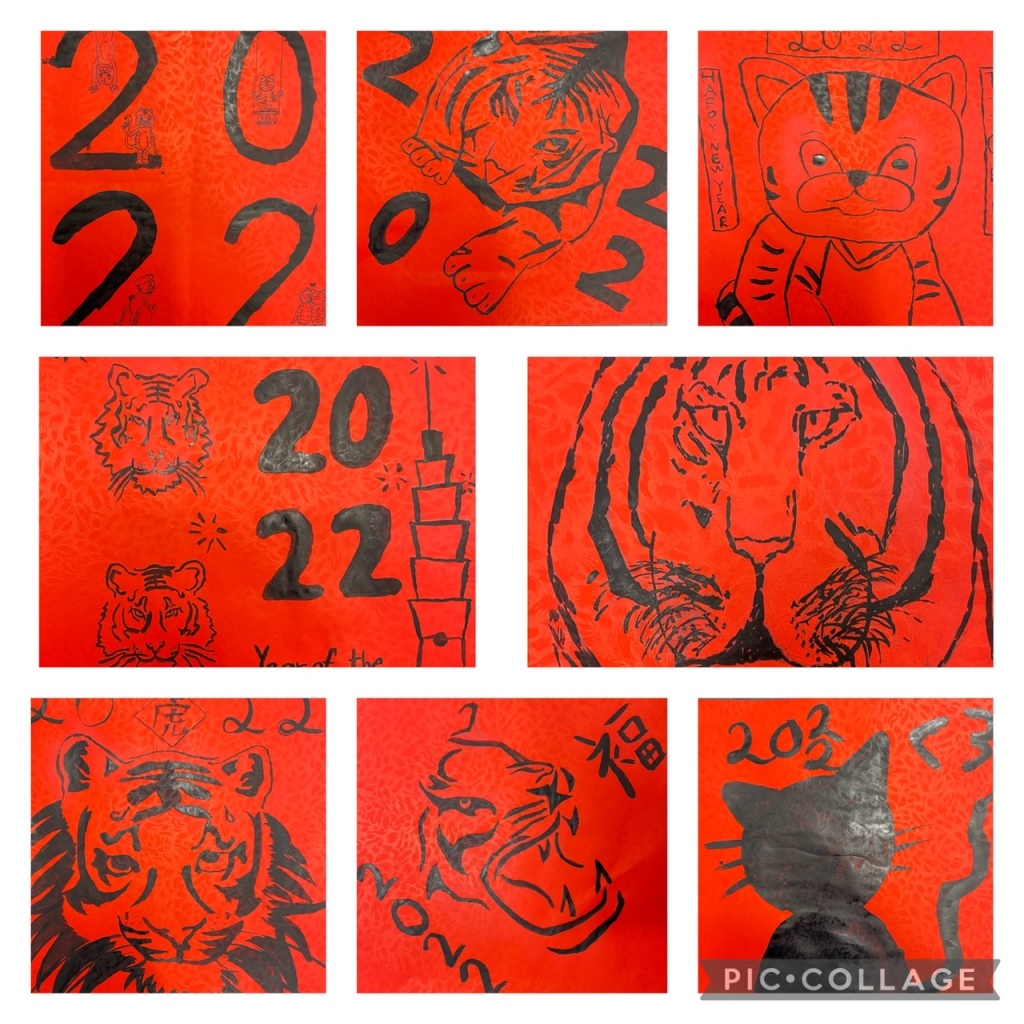
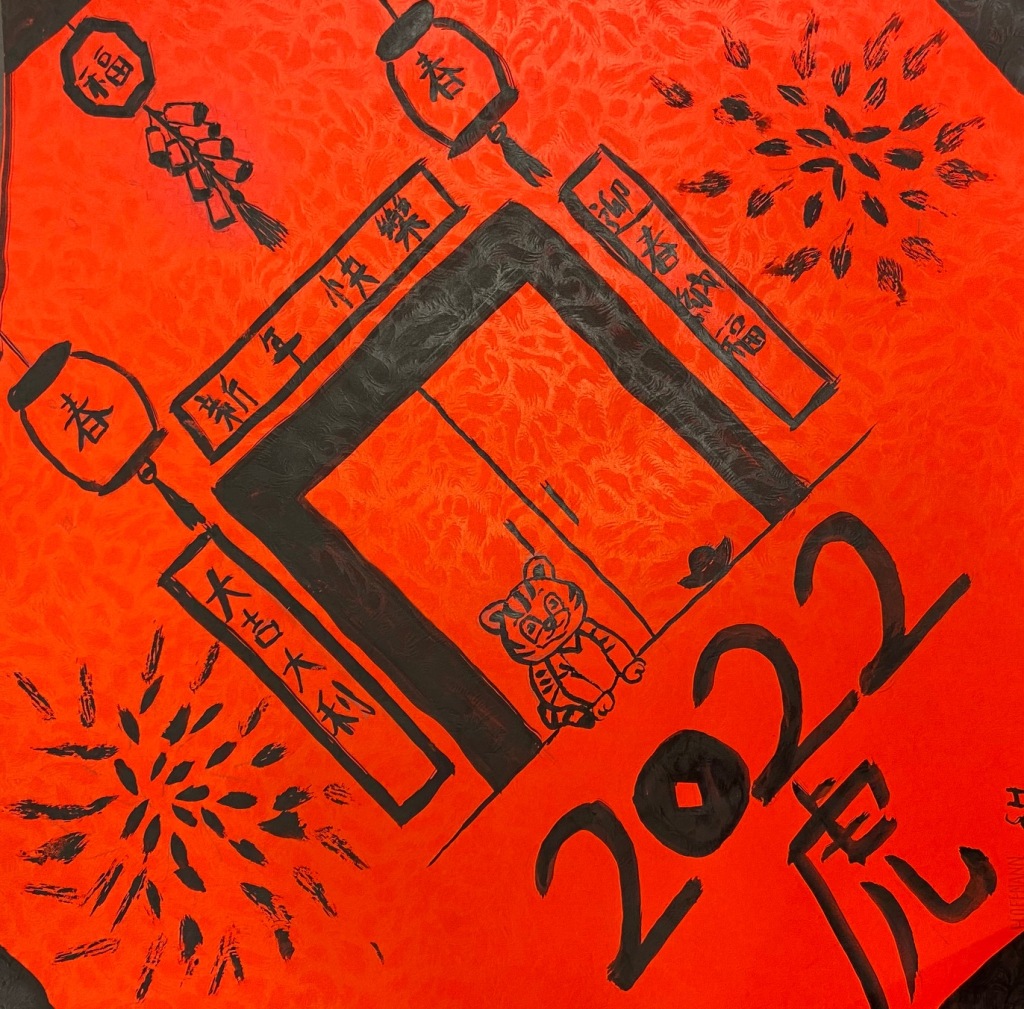
Grades 5 and up designed a traditional CNY poster. These are done on red paper and are painted with black Chinese Ink.
We always start planning and designing on our sketchbooks. This year I introduced them to the Design cycle and we talked about not getting stuck with one idea. I asked students to design 2 different posters in the sketchbook and then decide which they would use in the red paper. Choose a design and sketch with a pencil in your red paper; then very carefully use a brush and ink to paint it. Remind the students to work from down up, it is very common to end up with in in the back of the hands and then stain your posters.

1 thought on “Chinese New Year Tiger Art Projects Galore!”