
Chinese New Year is coming up and all of my grades are working in different projects around the festivity.
Grade 1 students love Eric Carle’s work and this project is a great way to introduce them to this collage style.
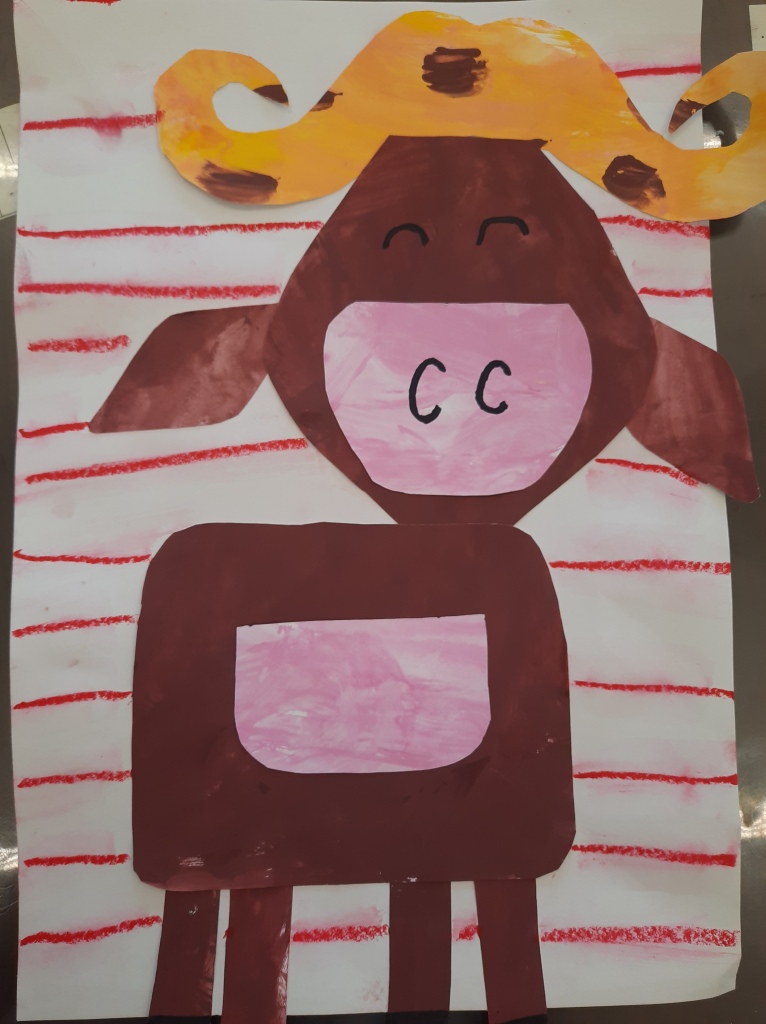
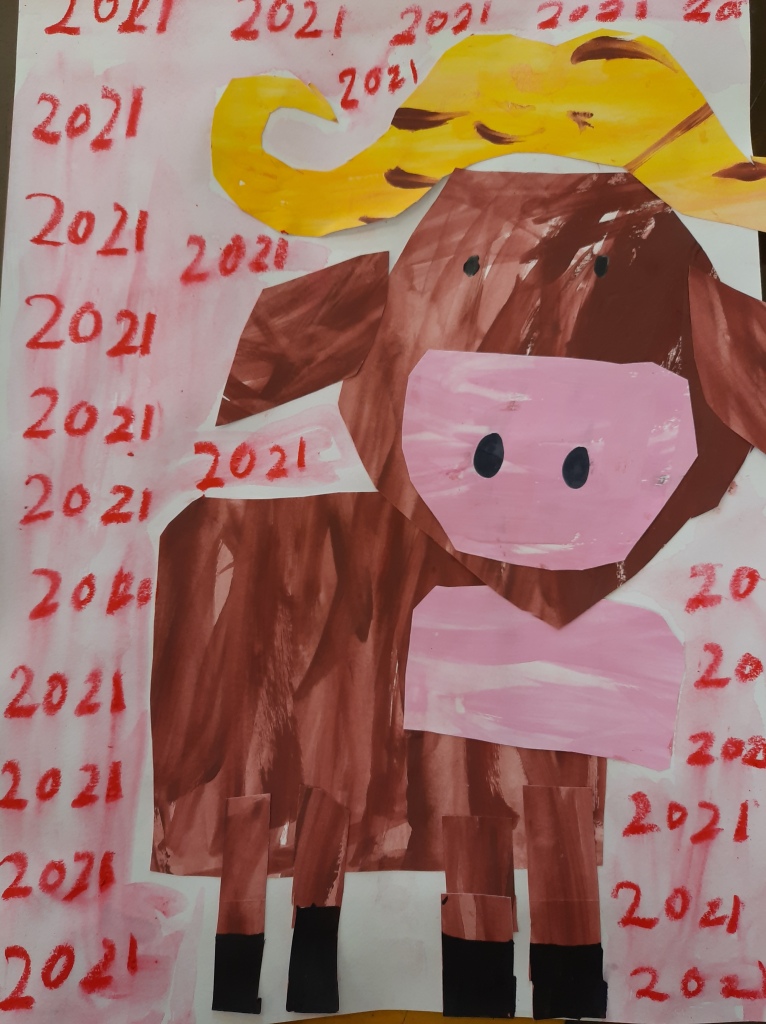
We first start by painting (roughly) white sheets of cardboard. Each student got 2 sheets and they were instructed to paint a whole sheet with brown and the other sheet was folded in half (long sides together), this created a middle line and we painted one half with pink and the other half with dark yellow. I told them we do not want the whole paper covered in paper, we want to see the brush strokes, some parts darker, some lighter, which is usually the way grade 1 kids anyways LOL.
When the paper was dry, I prepared and handed stencils with the shape of a cute cartoon like bull. You can find the one I used here. We use lots of sheet notepads and the end is hard cardboard, the perfect thickness to make stencils. I usually collect all I use and also visit the Kindergarten classrooms and ask them to keep those for me.
Next class students used the stencils to trace the shape on the back of the painted paper, but there was a catch, the brown paper just fit them all and you had to play around (like a puzzle) to make them fit, so I asked them to use a pencil just in case they needed to erase, this turned into a great spacial thinking activity, some found it hard! We cut out once we were sure we had 9 pieces traced in total, and I collected them with paper clips. This brings me to explaining our color coded classroom:
I have 5 long tables, each table sits 5 students. We have a red table, a yellow, a green, a blue and a purple. The supplies caddies and containers match the colors, this helps to keep track of irresponsible students, as you can tell who did what or where did something go missing (purple table, you are missing a glue cap….oh there it is). Students also write on the back their table color, eg. Ms. Adriana RED, and so, when the artwork is dry, I group together with a colored paper clip, and I end up with 5 grouped piles of paper, and before the class shows up, I put the red clip pile on the red table and so on. It takes me less than a minute.
For this particular activity I needed 5 colored clips per table, but it worked perfectly well and each student got their own set of cut out pieces of paper.
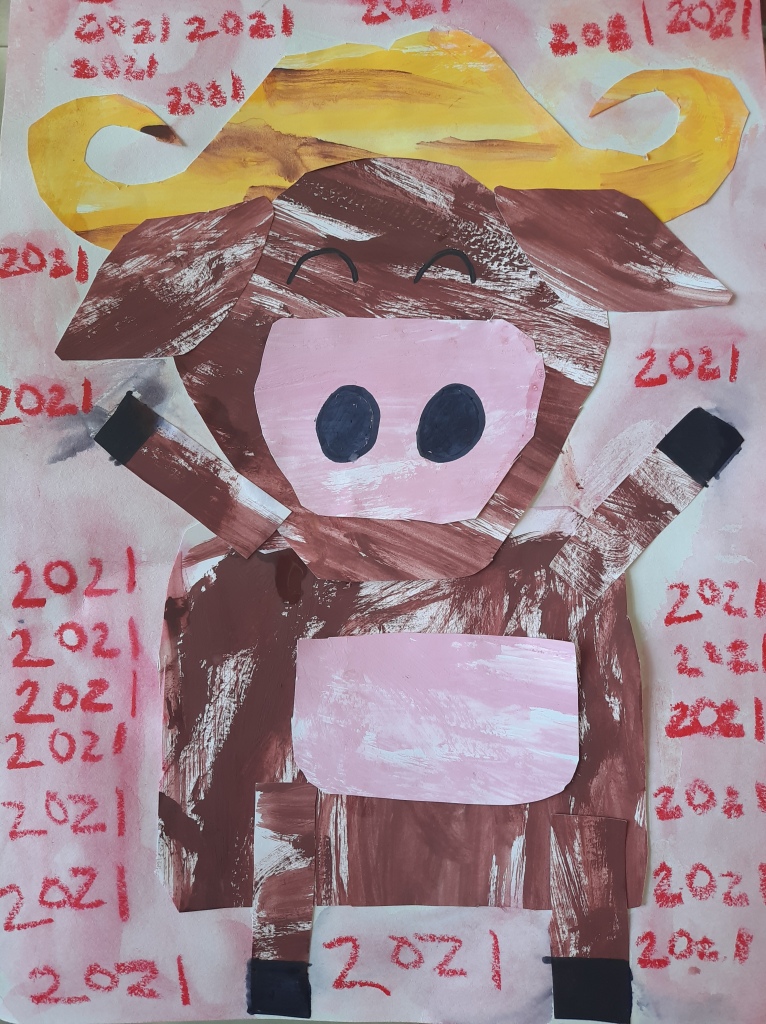
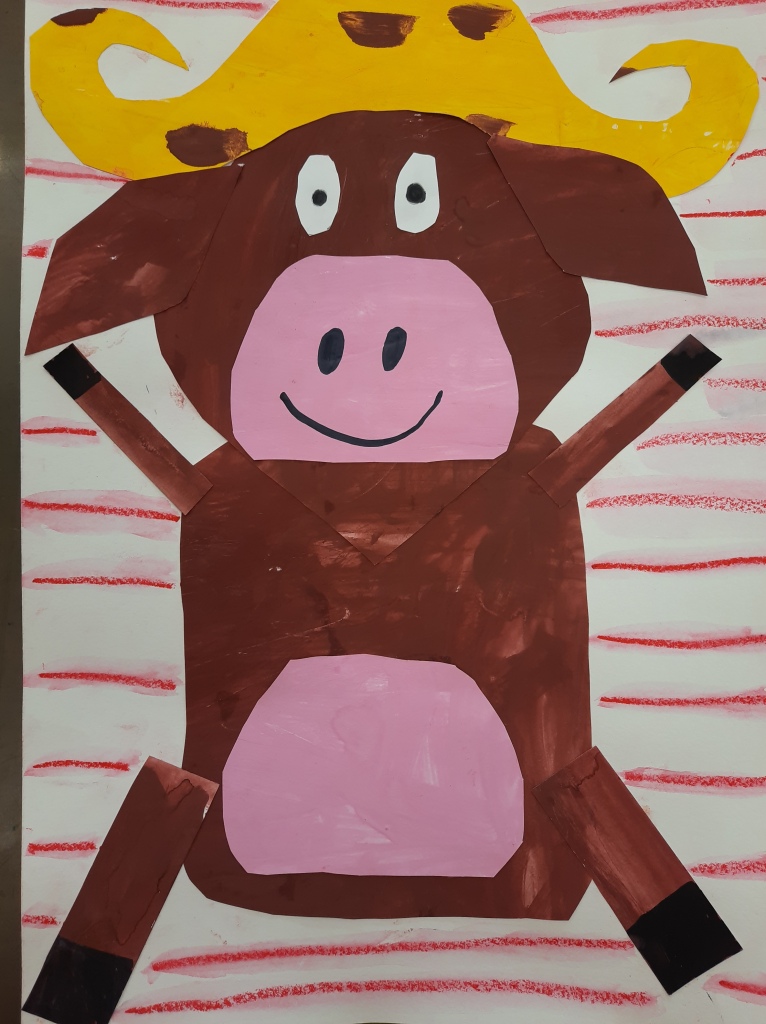
I then handed a larger piece of cardboard, use any size slightly bigger than the bull itself. I modeled how to assemble the pieces, but there was some freedom, as the pieces could be assembled to make the bull standing in all fours or in two legs and arms, it could also be profile or a side view; most important thing was to make sure it was glued properly, I always emphasize I do not want pieces of paper “flapping” , we need the right amount of glue on the sides and all around and a bit in the middle, we also need to press and count to 10 before letting go. Once all was done and it looked like one piece of paper, they could put in the drying racks.
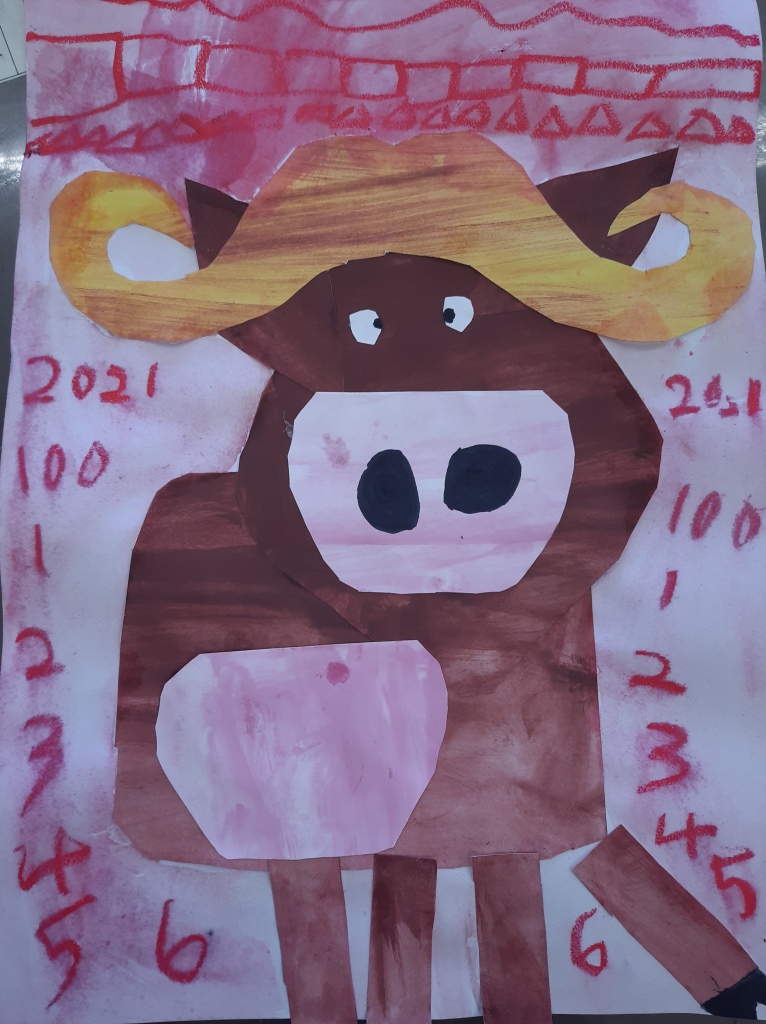
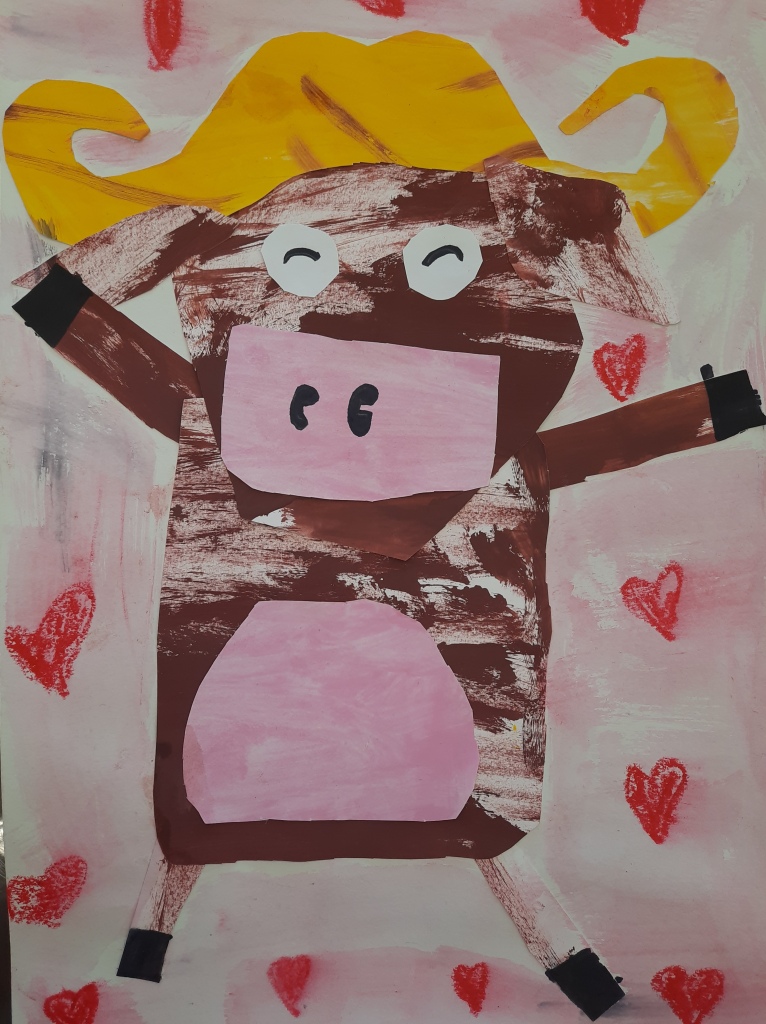
Next class I had on the board different sets of eyes and handed small pieces of white cardboard and black markers. They could choose the eyes they liked, if it had a white part, they needed to cut out two ovals before adding the pupils with a black marker. Simple eyes could be traced directly on top without adding white paper. The nostrils were traced directly on top of the snout. They also added hooves using the same black marker, once finished and that same class, I asked them to clean their space and come to the front table to add a background. I had red water soluble crayons, brushes and water. They could add any pattern around (samples were on the board, but they could do any pattern / motif they liked) with the red crayon, and then spread some water on top with the brushes, which gave a nice effect and made it look finished up properly.
Hope you enjoy, happy CNY!.