Every year I buy a bouquet of flowers and bring them to the classroom. There is something special about having fresh flowers around and I use them with most of my classes, from Kindergarten to Middle School.
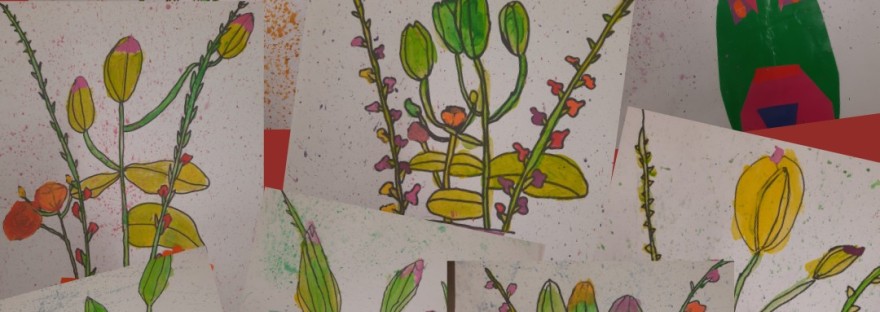
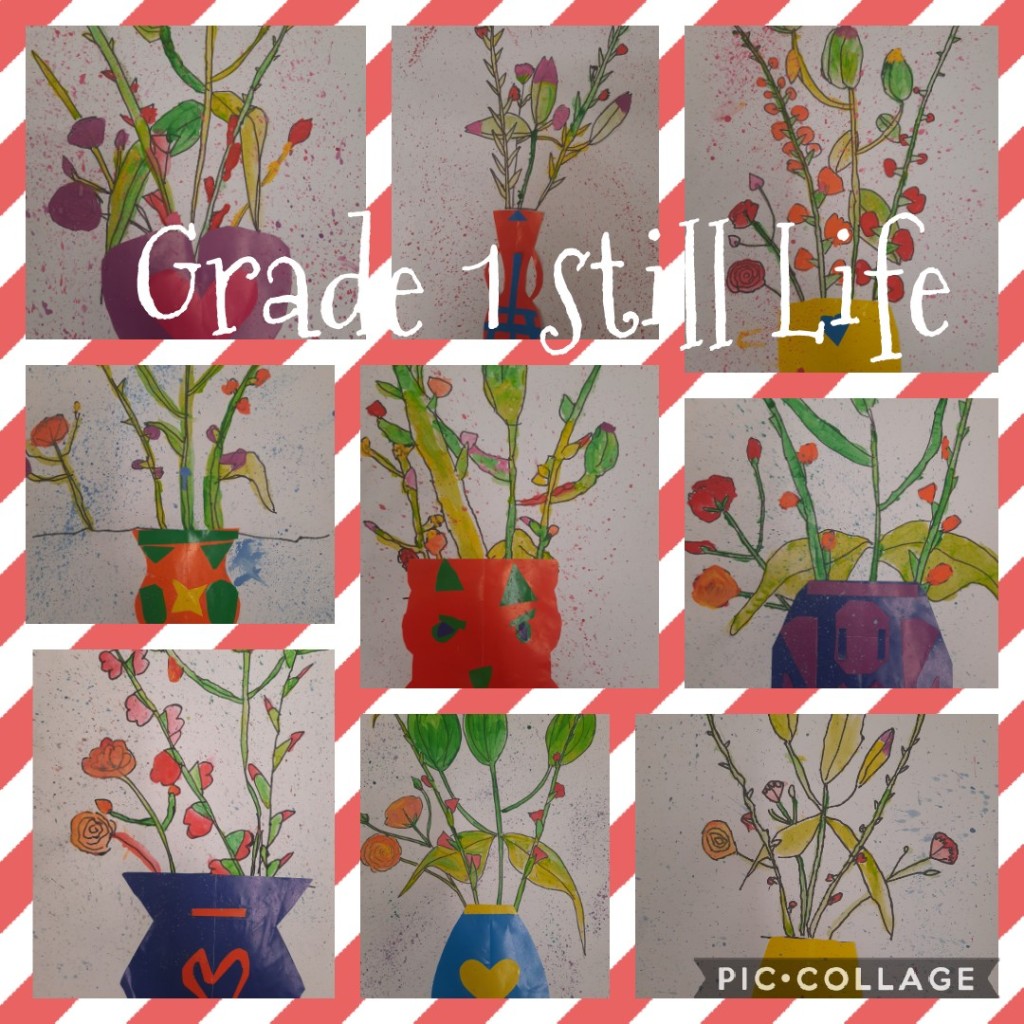
My youngest students got a directed sketch, I was drawing the flowers myself, step by step and kids were observing and sketching their own flowers following me. I gave them A3 cardboard and asked them to put their fingers in the middle of the paper, then move the finger down a bit and make a small line (a small line a bit below the center). We made sure to start the stems from that line, nothing below, so we have space for a vase later on. Once the pencil sketch was finished (one class) we outlined them with a permanent marker, usually I give crayons to my youngest students, but this year I upscaled that and the artwork looked terrific. Once the outline was finished (another full class) we painted the stems and leaves. I like to use a double dip technique and tempera paint, meaning I put a green/yellow palette and ask students to dip in one color followed by a dip in a second color (no mixing), then they paint their stems and leaves carefully (we used small brushes) and when we have no more color, we double dip again using a different mix. I was a bit worried with my grade one students, as the stems were quite narrow, but they totally impressed me! Telling them that I trusted them with my good brushes and the paint helped a lot 😉
Next class I gave them a warm color palette (add white, it will bring lots of light to the flowers), and they used the same technique to color their beautiful flowers.
Finally, last lesson was on symmetry and they designed their own flower vases. I projected many different shapes of vases (google vase outline) and asked them to choose one. We talked about symmetry and a simple trick to make sure our vases would be perfectly symmetrical, we folded a piece of colored paper in half, designed half the vase (on top of the fold) and then cut out. When you open the paper (unfold it) you will find a perfectly symmetrical vase. I gave extra paper to add details on their vases, then asked them to glue them on top of the stems, some kids had a line traced with pencil, and they covered up the line with the vase. Once finished they could come to the front to splash paint using water, dry temperas and an old brush. BEWARE, kids love this part.
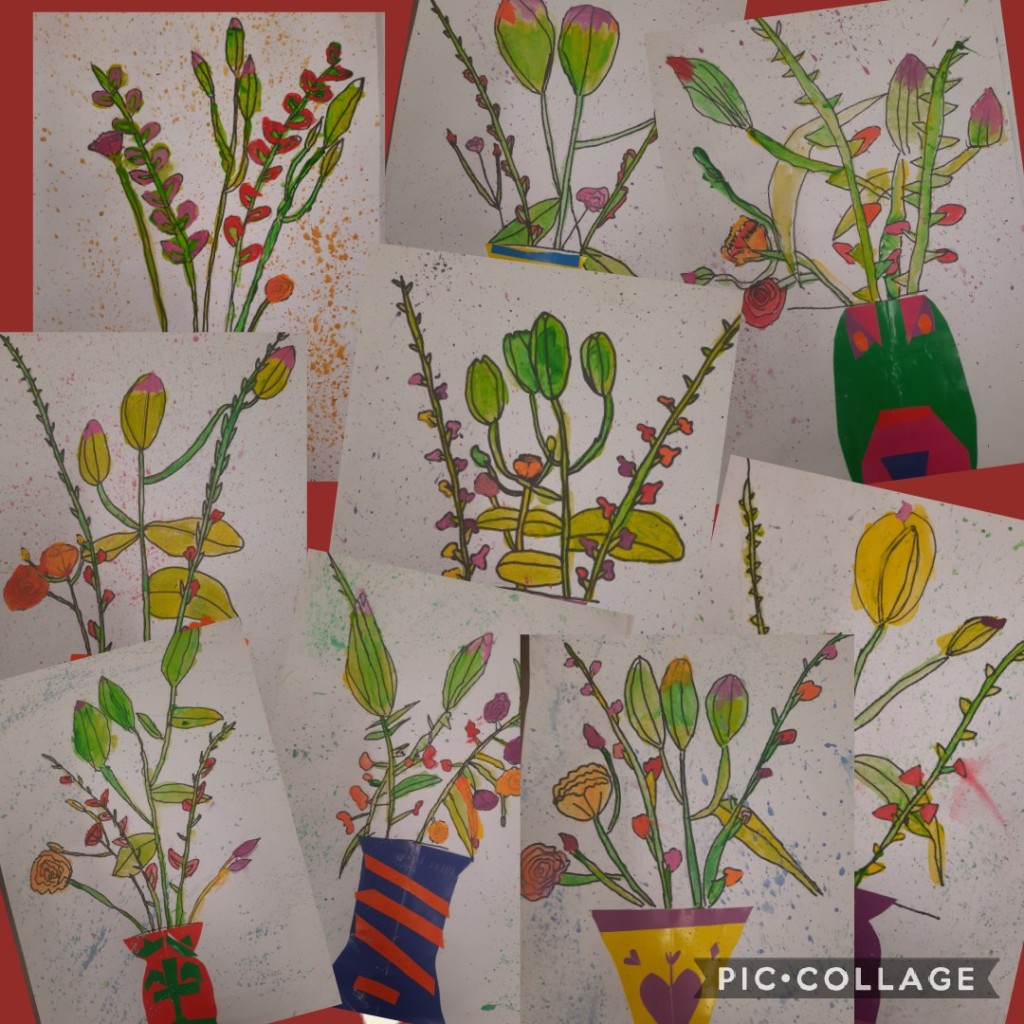
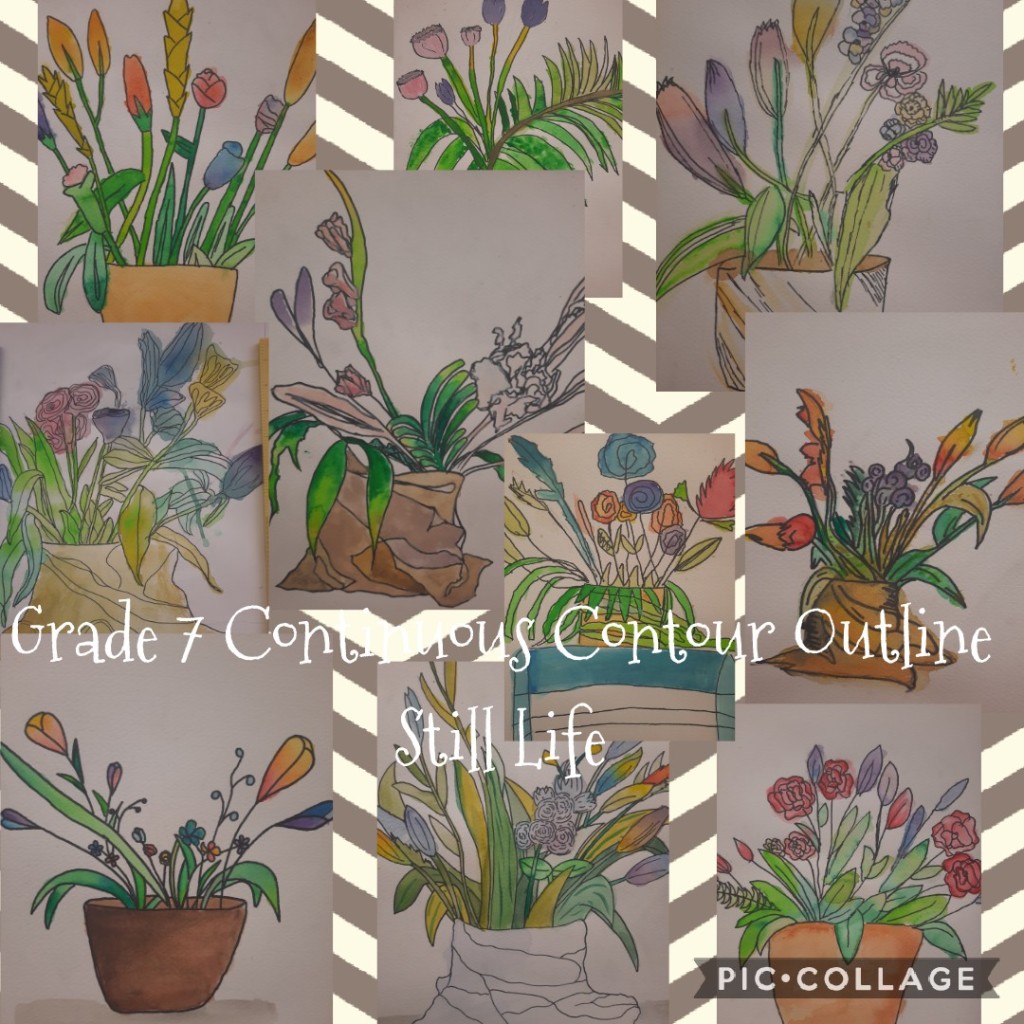
Older students got a different direction, I challenge them to use a continuous contour outline, meaning once they put the pencil down, it cannot leave the paper until they finish their sketch. Get ready to answer all sort of questions, like, can I go out and scribble on the desk and back to the paper? (as far as you don’t lift and clean up the mess, yes).
Once they finished up, they outline with markers, here they can omit lines if they wish, then erase pencil marks. I handed watercolors, not temperas, just to tweak it a bit, last year I asked G7 to use a double dip technique using acrylics.